Belle’s Ballgown and Village Dress
Source: Beauty and the Beast Jr.
Made for: Beauty and the Beast Jr, 2016
Background: This is the second time I’ve been involved making some costumes for a school theater production of Beauty and the Beast. This time I kept up with the construction and took photos, so I thought I’d share the build process here!
Journal Entries: Read more at my Theater Belles tag
Related Costumes: Costumes for Little Mermaid Jr
![]()

![]()

Patterns Used:
Mccall’s 5954 – blue dress, and Simplicity 1026 – ballgown
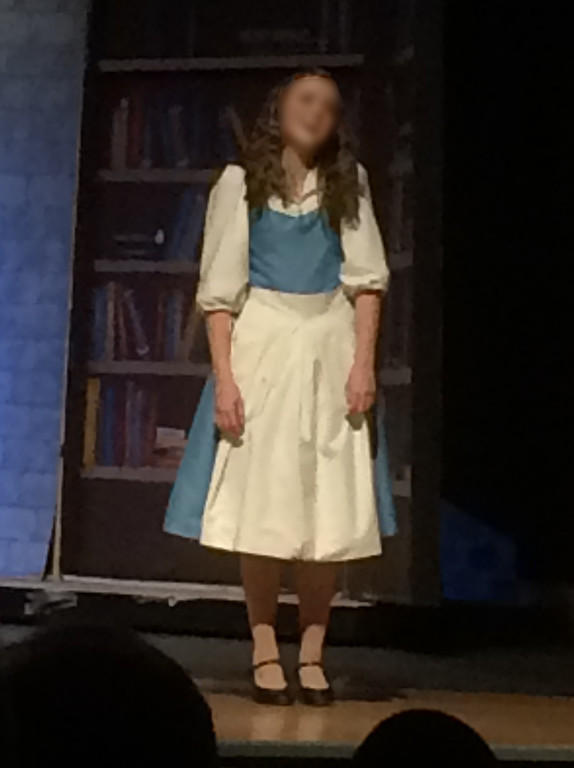
Blue Village Dress:
My most recent personal version of the village dress, from 2012, was 4 parts – a blouse, bodice, skirt and apron. That wouldn’t work for a stage show where the actress would need to change backstage, so I decided I needed to find a pattern to use so that the dress could be one piece, with a separate apron. I decided on McCall’s 5954.
For fabric, we had to make do with what we could find locally. I settled on a lightweight blue crepe, and a slightly patterned white cotton.
I liked McCall’s 5954 for this because the bodice called for a full lining. I got the lining put together and sized to the actress’ measurements, sent that off for a fitting, and then once that was adjusted and corrected, used it as a basis for the outer layer of the same fabric.

The pattern called for a VERY full skirt. I ended up chopping off about 3-4 inches in width on each skirt panel piece; that much fullness for this dress really wasn’t necessary and I only had so much fabric to work with! I initially machine-gathered the skirt pieces, but didn’t care for how it was looking, so I tore it out and hand-gathered it instead, then machine-sewed it onto the bodice.
The sleeves were the upper puff sleeve pattern for McCall’s 5954 – I just lengthened them by about 8 inches. At the elbow, I folded the fabric over, creating a channel, and threaded some white ribbon through it for a drawstring closure. I thought this would be more comfortable for the actress than guessing at an elastic size, since I didn’t have arm measurements.
The collar segment was the biggest obstacle in this build. Digging through my pattern drawer I spotted Simplicity 4940 (a Lord of the Rings pattern), that had a cowl neck on the Eowyn-esque version. I cut one out of my cotton as a test…. and it was perfect! Once I had them sewn in, they were a little long on the interior, so I just trimmed away the excess.
The apron was pretty simple – I just cut a large rectangle of the fabric, folded it over, sewed up all the sides, flipped it, topstitched it, pleated the top edge. Made a waistband and sewed it onto that, and finally made a bow and sewed it center back. I added velcro as a closure for it.

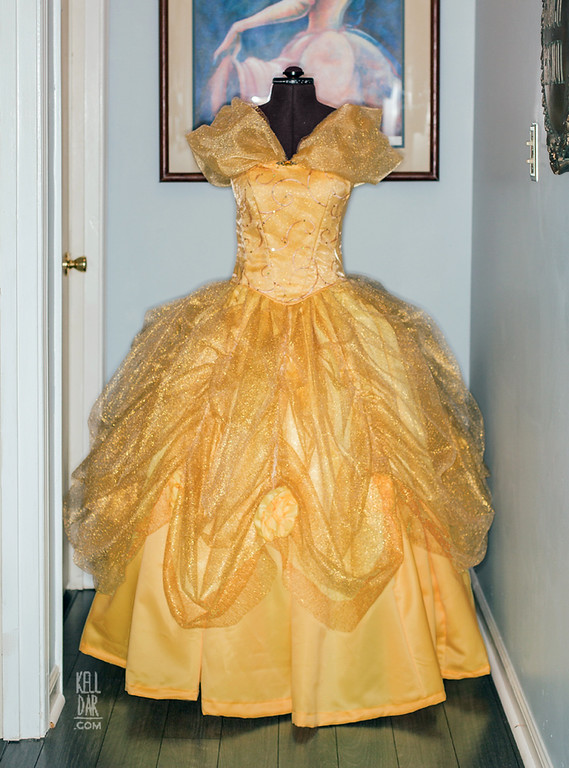
The Ballgown:
I had to work around a budget and fabric choices for the ballgown. There wasn’t a lot to choose from at the fabric store, and I kept having to put aside things I liked because there wasn’t near enough on the bolt. I finally settled on a matte yellow satin for the majority, a really pretty sparkly gold netting for the overlays, and I also got some plain yellow organza to back the shoulder pieces in, and some plain yellow satin for lining the bodice. For the pattern, I really wanted to try out Simplicity 1026, the new live-action Cinderella pattern. For the bodice itself, I used the satin as a base, and then a layer of the gold mesh netting, and then I had enough embroidered organza from my 2012 Belle in my stash that I was able to do a layer of that, too.
The bodice sizing should have been ok for my actress – but for some reason it ended up much, much too big. It was difficult to work down to the measurements I needed, since there were so many pieces, and they all had to be taken in the same amount. The most frustration I had in the entire process was dealing with this bodice. I went off-pattern and added bra cups for shape. I had bought some plastic boning for this, but after adding the casing and getting the boning cut and inserted… I hated it! There’s a reason I don’t use plastic boning generally. I took it out and replaced it with some spiral steel out of my stash.

I added some straps made out of the satin to the bodice also, just so that everything was secure. I used the pattern for the shoulder piece with no changes – it’s a layer of plain yellow organza and a layer of the gold mesh netting. I ended up handsewing these into place on the straps to keep them upright and not sagging down the arms.
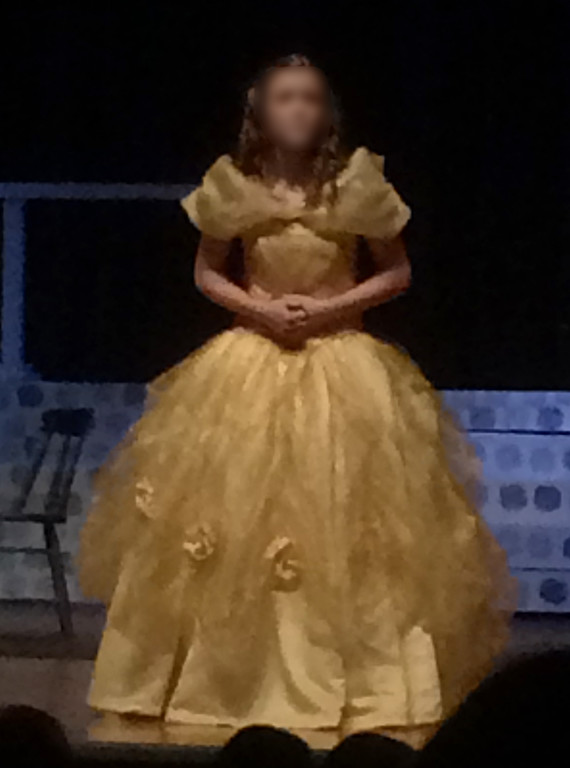
For the skirt, I ended up adding another pair of panels on the back to make it a little bit fuller. For the outer skirt panels, I just cut what was left of the gold netting into rectangles – longer for the back, shorter for the front, and sewed them all together, then pleated that onto the yellow skirt. Once they were all one piece, I pleated the skirt onto the bodice. (Then added the zipper.)
Once I had the dress all one piece, I took a running stitch up each seam of the outer skirt, got it gathered to where I liked it, then machine-sewed it so it wouldn’t budge. I just trimmed the edges of the gold netting, since there wasn’t much need for hemming it.
I THOUGHT I had enough yellow roses leftover from my 2012 version to add to the bottom of each seam… I had 8 seams… and 7 roses. Argh! They weren’t really the right yellow tone anyway, so I made some quick roses out of my leftover yellow satin for each point. Finally, I had a little gold metal ornamental piece leftover from Anne and I added a yellow rhinestone to the center, and sewed it onto the front where the shoulder pieces meet.
Final Thoughts:
I was really happy with how these turned out! A few nitpicky things I could have changed, but overall it was a lot of fun seeing them onstage. And the play was great.
In 2024, the ballgown made it’s way back into my sewing room. It needed a few repairs but I also needed to let it out for a taller actress. Thankfully I’d left a lot of room to do so and this ballgown has successfully gone on to do another show!
![]()


Please note that none of these costumes are for sale! This is my personal portfolio.