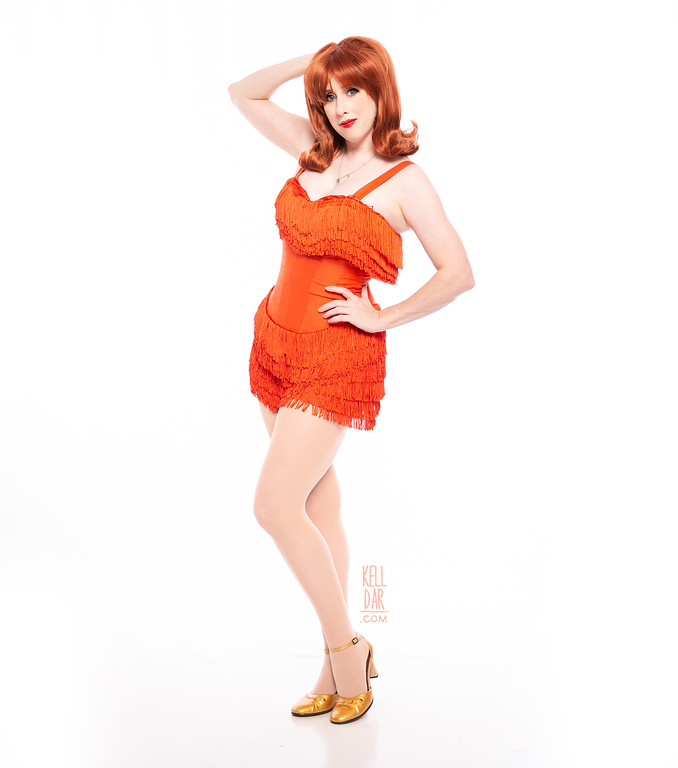
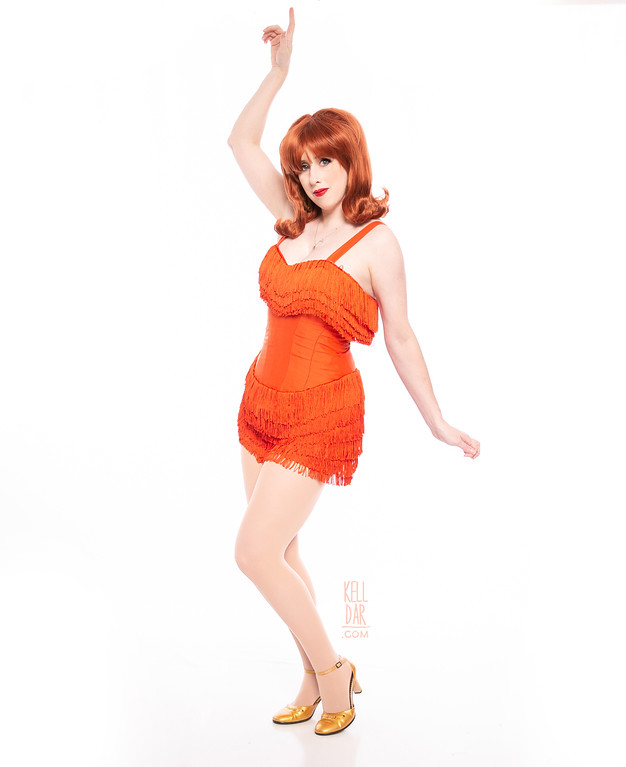
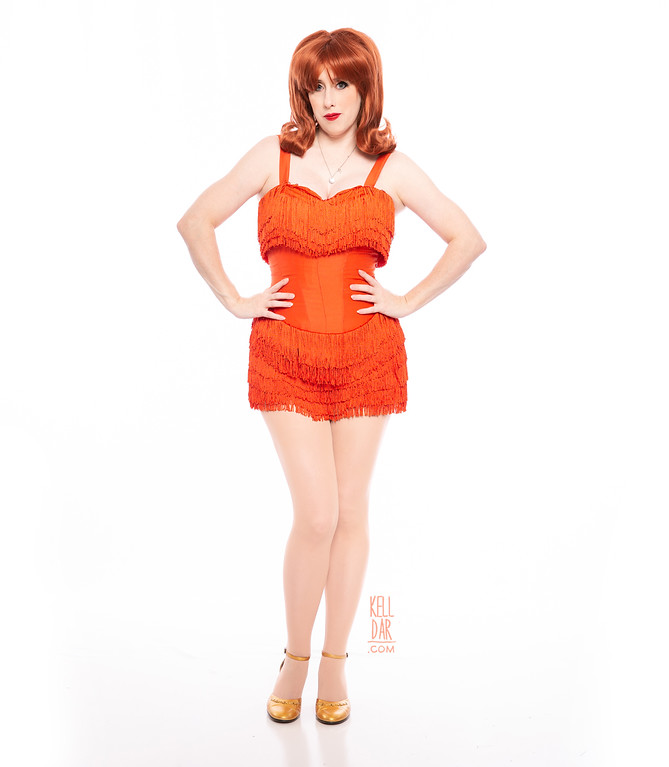
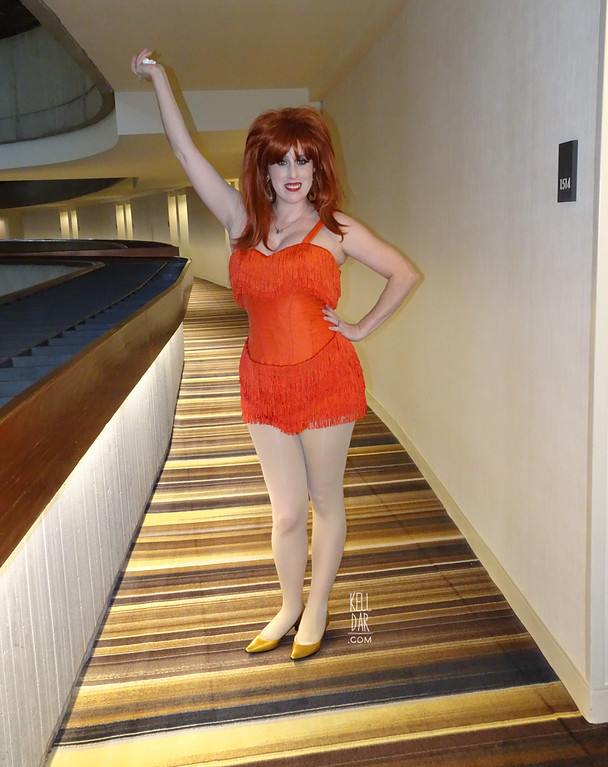
Kate Pierson
Source: The B-52s Love Shack video
Made for: Dragon Con 2018
Journal Entries: Read more at my Kate tag
Related Costumes: Taylor Swift, Stevie Nicks, Lady Gaga
![]()
![]()
 Patterns Used:
Simplicity 8196 (shorts), Simplicity 5006 (top)
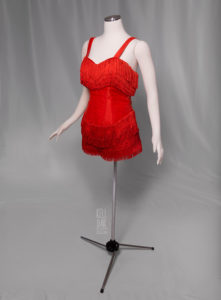
Bodice:
I used my trusty old Simplicity 5006 for this, which I’ve used dozens of times – and for whatever reason, this time it betrayed me! But I’ll get to that in a minute, let me back up to fabrics… I went to the fabric store to find some kind of orange fabric to use for this and the pickings were slim. It was either “safety” orange spandex or this reddish orange satin. I went with the reddish orange satin, and threw it in a pot with some RIT Dyemore orange – and it came out perfect!! So happy with the dye job!
I used a cotton for the lining – cut two layers of lining like I always do, and sandwiched the boning in between the layers of lining. Then had my outer “fashion fabric” layer of the satin. Somehow the lining and the outer fabric didn’t match up, despite being cut at the same time and sewn together with the same seam allowances. I had to take in the lining at the bottom seams to make it fit the outer layer. And then….. it ended up fitting fine at the waist and hips. And WAY TOO SMALL at the bust. That’s not even where I had to take in the lining!! I have no idea what happened, since, like I said, I’ve used this exact same pattern a gazillion times and never had this problem. But at the top I had a HUGE gap. And of course I didn’t REALIZE this until I’d already set the eyelets in and went to put it on, and there was no going back. UGH.

So I decided to just move forward – I made a gigantic modesty panel for the back and was just going to live with it.
The fringe I bought on amazon – I got 20 yards! It arrived and it was more of a bright yellowy orange than the satin I’d dyed. It wasn’t a TERRIBLE difference, but I decided to try and dye it. I put all 20 yards in a pot of RIT DyeMore Racing Red, let them sit for about 5 minutes, pulled them out… and dang they were close! I was again really happy with the dye job.
I hand-sewed the fringe in place on the bodice, since I had boning to contend with – 3 layers on the top and two at the bottom edge. I also added the straps.
I finished all this about a month and a half before Dragoncon. (I was trying to get it all done before we moved!) The weekend before Dragoncon, I decided to go back and look at the ill-fitting back. At first I tried to add in a triangular shaped pattern, that would just give some more space from the waist up. That was a mess. So I ended up just taking both back panels off, recutting the back panels larger and reattaching them with new eyelets. It was worth it – it went from ill-fitting and uncomfortable to fitting pretty good! I’m really glad I took the time to fix it.
That being said, I think I went a bit too far and it was a TINY bit too big through the waist/hips now. (Because it fit fine there before — then I cut it larger and lost some of that). I already took one dart in the back panel to take it in a bit, I think I need to go a litttttttle bit further and I’ll be happy with it.

Shorts:
The shorts were interesting! I’ve never made fitted shorts before – only stretchy things! I used the Bombshell Wonder Woman pattern and stuck with it pretty much as-is – I just shortened them and got rid of the darts, and also fully lined them in cotton for comfort. I also NEVER do invisible zippers – hate ’em – but this pattern called for one so I did it. And it turned out ok! I was terrified of busting it the whole time, though. LOL.
Once I had the shorts made and fitted, I sewed the fringe on – thankfully I was able to machine sew it on the shorts so that was a quick job.
Wig/Etc:
The wig was styled by the amazing Frankie and Shawn! The day I picked it up I drove it home so carefully you would have thought I had a live bomb in the front seat. I waited for nearly a week to even try it on because I didn’t want to mess it up LOL. I LOVE IT OMG.
I thought it would be close enough, but I do want to go ahead trim it shorter for next time (I think having it hit right at shoulder length will help alleviate people thinking I’m Peg Bundy…), and the only other update I want to make is… new shoes. I bought these at the secondhand store and painted them, I never even tried them on, they looked close enough… LMAO. They were WAY too big and I could barely walk in them. So, new shoes are needed.
And finally the earrings I picked up at the wig store.
History: I didn’t get back around to doing anything to this again until 2020! I cleaned her up for a white backdrop photoshoot – wore my gold Donna Noble shoes instead of the too-big shoes from Dragoncon, and also trimmed the wig shorter and curled the ends up a bit more. You can obviously see those in the gallery as the ones on the white backdrop. LOL.
![]()


![]()


Please note that none of these costumes are for sale! This is my personal portfolio.