Princess Leia
Made for: Spring 2018
Journal Entries: Read more at my Princess Leia tag
Related Costumes: Princess Leia 2006, Princess Leia 2004
![]()


![]()

Patterns Used:
None
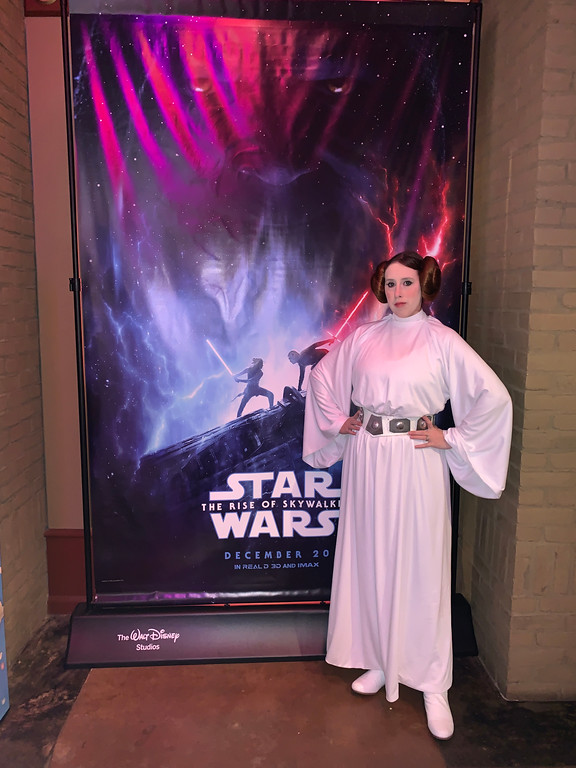
So my 2006 dress has been worn to death, I decided that wearing it to The Last Jedi would be its last hoorah. It was time for a complete rebuild – new dress, new belt, new boots. Well I finished the dress in 2018; got new boots in 2019 – but I still haven’t made a new belt. I have the materials, but haven’t gotten to it! I was kinda waiting til I did that to put up this page, but I realized I need to go ahead and get it written before I FORGET the dress construction. So I’ll come back and add the belt details later on when I actually get to it.
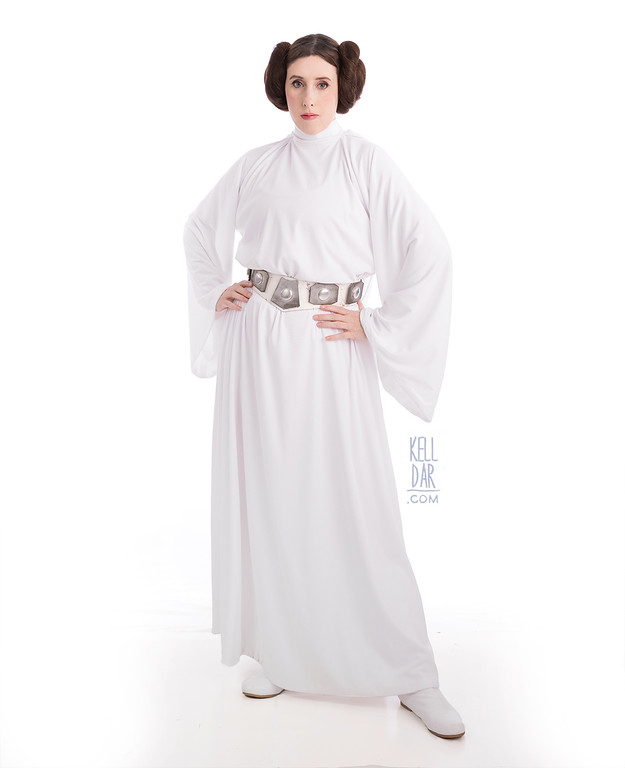
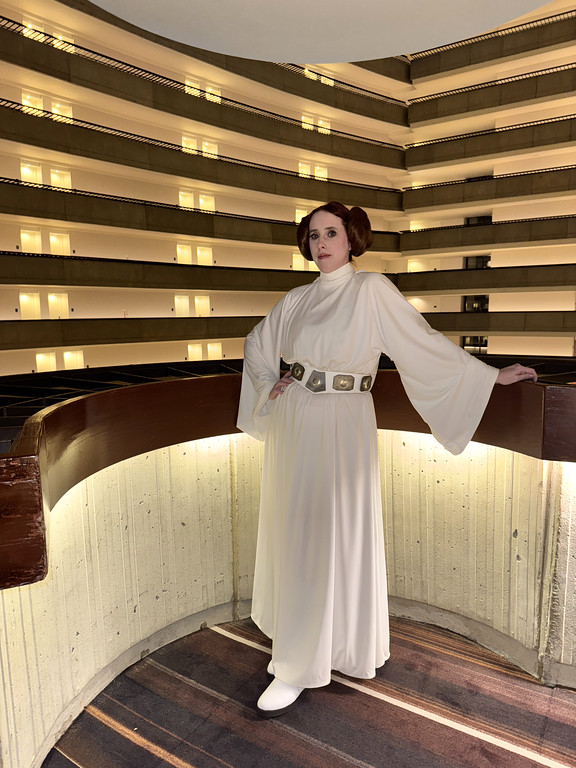
Dress:
This new version of the dress started out a LOT like the 2006 version – I went to Joann and bought a whole bolt (or close to it) of the jetset poly. One interesting thing I noticed is that this jetset is WAY thinner than what I used in 2006 – probably why my old dress has lasted so long, it’s thicker and more hardy. But I like this thinner fabric better; looks better.
I laid out my fabric folded out large enough for 2 dresses (outside and lining), with the fold at the top that would be the shoulder/sleeves. I laid out my old dress on top of the fabric and used it as a cutting guide. So all that was basically exactly the same way I did the 2006 version, but it was at this point I deviated – because in 2006, I just laid the two layers together, folded the edges over and sewed them closed. So if you looked at my sleeve or dress hem, you could see the raw edges. This time I did them separately. I started with the lining layer and sewed it closed from the edge of the sleeve down to the knee where the slit begins. Then repeated the process on the outer layer piece (using my lining layer stitch lines as a guide to pin the seams).

Once I had both a lining dress and an outer dress, it was time to get them attached to each other. This was the difficult part of the process. I decided to sew the lower edge closed – the hem and the slits, and then flip it right side out. This was a pain in the butt, because everytime I’d sew it closed, trim my points, flip it… something would not be hanging right. I’d have to turn it inside out again, figure out the problem, fix it, repeat, find another place that wasn’t right, flip it, fix it, repeat… over and over. My hem at the bottom is not great, it ended up a little short from all the fixes. (At least the flower that got stuck between the layers didn’t get left there!)
A note here – I was actually making two dresses at the same time, one for me and one for a friend. When I did my friend’s hem, it went much more smoothly and on hers, I understitched it and it looked so much better. Mine was already closed up by that point, so I left it; and was already thinking I just need to remake my own now that I’ve already learned a lot more about this.
So anyway, once the hem was done, I did the sleeves by pulling them out of the neckline, sewing the edges together, then stuffing them back down where they belonged and pressing them. The actual worst part was the keyhole in the back – I also pulled it up through the neck, awkwardly, sewing a little bit at a time, and it didn’t turn out perfect, but it’s done.

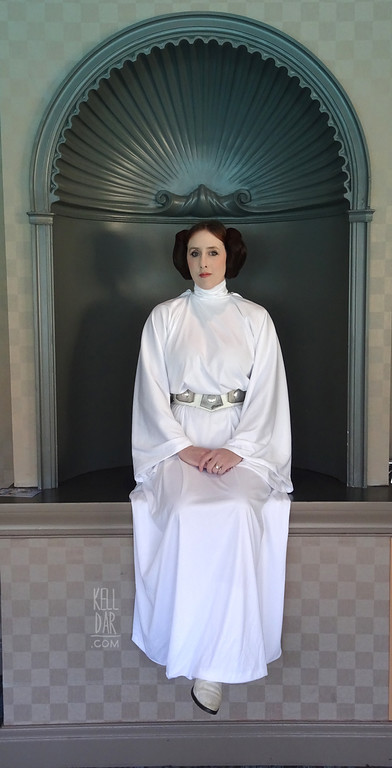
Then I moved on to my hood. I cut a trapezoid shape, just one layer, and then pressed the hem in place and pinned it. I finished it by hand. I got the edges gathered and pinned onto the dress – tried it on to make sure it was positioned correctly. Once I was sure it was I machine-sewed it in place only on the outer layer, leaving the lining layer free.
Next up was the collar. I initially started with a rectangular collar, but didn’t like how it looked so I switched to a curved collar. I did not interface mine – I did interface my friend’s version and after seeing the difference, I was like dang I wish I’d interfaced mine. LOL. To attach the collar, I machine-sewed it (right side to right side) to the outer layer of the dress (including the edge of the hood), then closed the interior by hand. Then I attached my hook and eyes at the back of the collar and it was done!
Or was it? A couple of months later I decided to open it back up. One of the changes I’d made from the 2006 version was the fit – I took it up on the side seams in comparison to the 2006 version, and brought the sleeve edge closer to the body. But I felt like I hadn’t done that ENOUGH, so I took both the lining and outer layer up a bit more to make the dress “thinner” through the torso. While I had the collar off, I also went back and interfaced it. Then reassembled it!

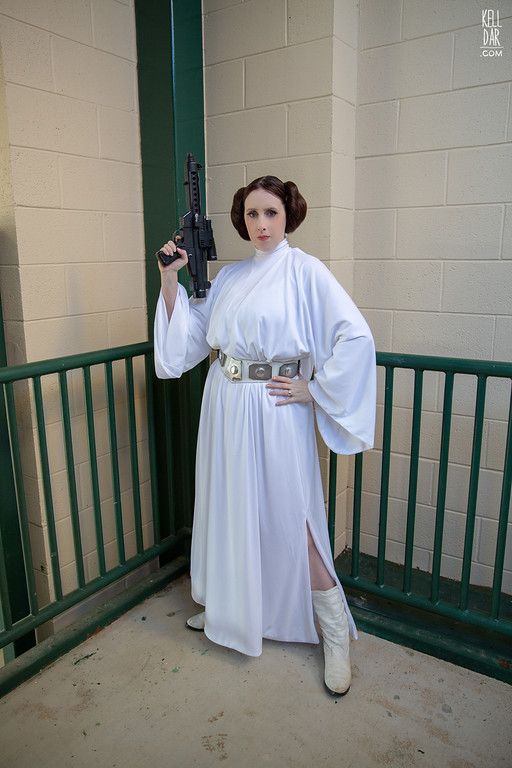
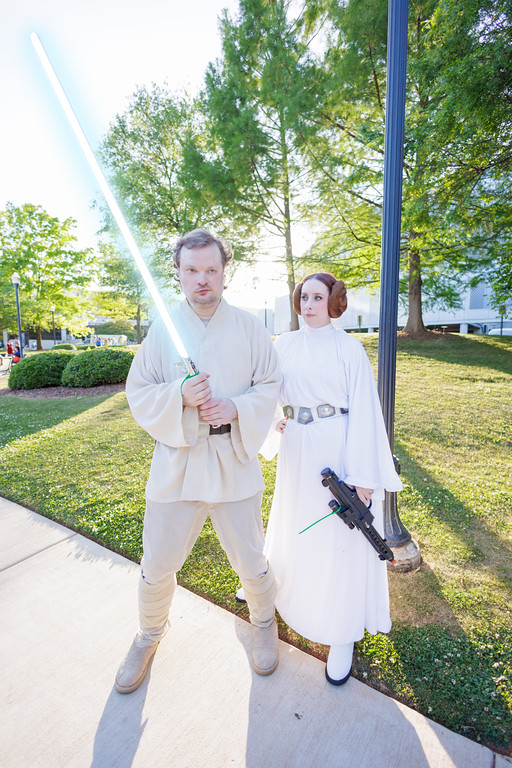
Accessories:
As I said, belt stuff coming soon – I’m still wearing my 2004 belt! But I did get new boots off amazon – I’d been wanting to build my own boots from the soles up, but lots of people were recommending the “Ellie Shoes Leanna boot” on amazon, so since I had a gift card, I bought them. They’re really pretty great for the price – obviously costume quality and the shaft is VERY slim – I have small calves and they are very fitted on me. But these will work until I do get around to building my own boots. If I ever do. (As of 2025, I’m on version 2 of these boots. The pair from 2018 starting peeling at around year 4.)
I also ended up with all new hair buns in this process – I started using loose extensions instead of my ponytail clips. I haven’t fully replaced the ponytail clips – I’ve been switching back and forth, depending on how dark my roots are at the time I’m wearing it LOL. But I plan to do a new tutorial soon (so it covers ALLLLLL of my bun methods), so I’ll post it here when I do.
History: Of course i’m still planning a new belt – I have my leather, metal, etc. And I am considering remaking the dress from scratch, after learning what I learned building this one. So if and when those things happen, I’ll just update this page instead of creating a new one… so keep your eye on this space.
![]()


Please note that none of these costumes are for sale! This is my personal portfolio.