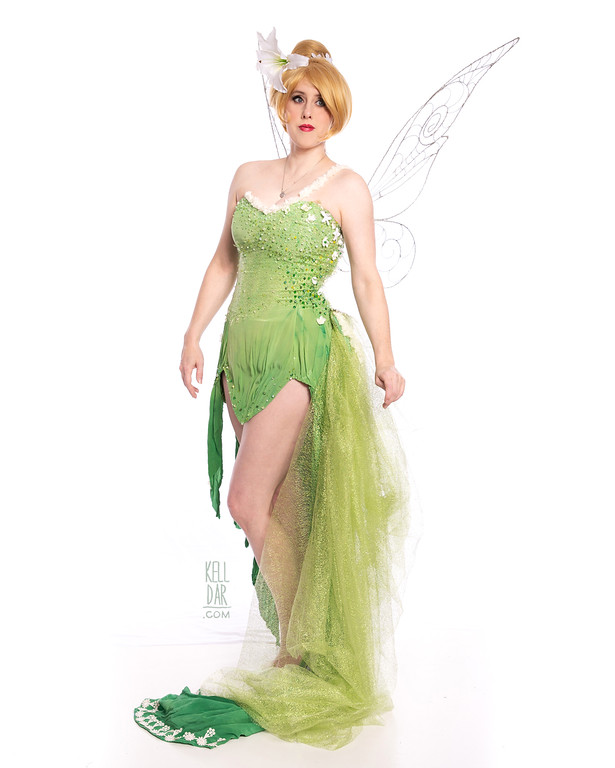
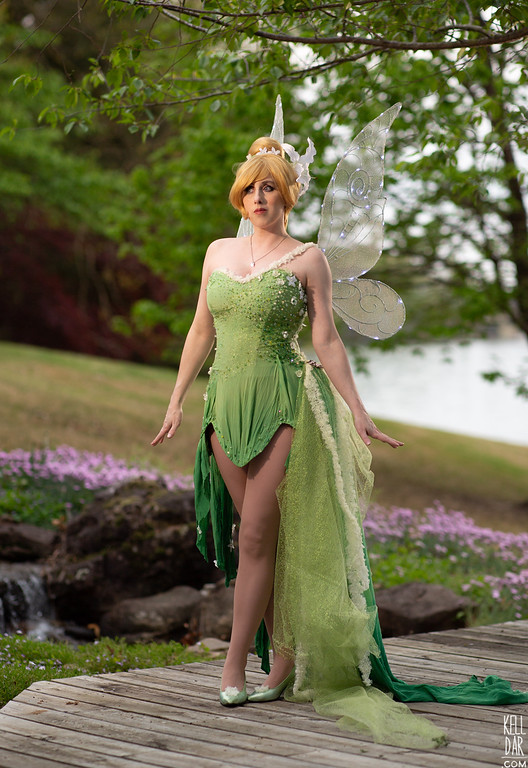
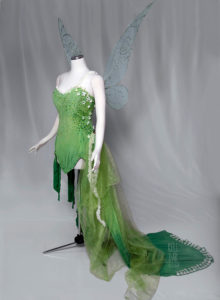
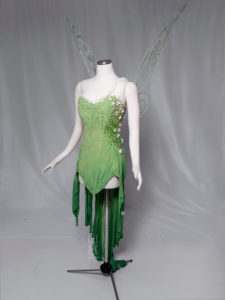
Tinkerbell
Source: Peter Pan
Made for: MidSouthCon 2018
Journal Entries: Read more at my Tinkerbell tag
Related Costumes: Snow White, Sleeping Beauty
![]()
![]()
 Patterns Used:
McCall’s 5006
Dress:
I started out with my fav bodice pattern, McCall’s 5006 – I used some scrap cotton to cut those pattern pieces out, then pinned them on my dressform. I pinned some more scrap fabric along the bottom edges of the bodice pieces and used a marker to draw the seam lines down farther, then cut the extension pieces apart along the marker lines. I pinned the bodice pieces to the extension pieces, then used those as a pattern to cut out my lining fabric for the dress.
I cut 2 layers of lining, using a green cotton. On one layer, I sewed grosgrain ribbon inside the seams to create boning channels, then inserted my spiral steel boning and sewed it up. I got the other lining layer sewn to the layer with the boning, then trimmed out the “petal” shapes in the skirt (should have done it earlier but I forgot! Thankfully no boning was in the way!). Once the two pieces were sewn together and finished, I put eyelets in the back and a zipper for the skirt section. This was basically a finished dress and wearable at this point — but I was going to use it as a base for everything else.
I had some leftover silk crepe de chine I decided to use for the outside layer. I used the original pattern pieces I’d used to cut out the lining panels to cut the outer dress pieces – I just widened and lengthened them. Then I dyed all the panels (and all my leftover fabric!) – I dyed them bright green, gradiating down into a darker green at the bottom of each panel. I let them dry twisted together to create a crinkled effect.
I got the panels sewn together, then sewn onto the lining at the top edge. I realized I’d put TOO much width in each panel piece through the bodice, so I took it in to just below the waist – I left the excess width in for the skirt panels.
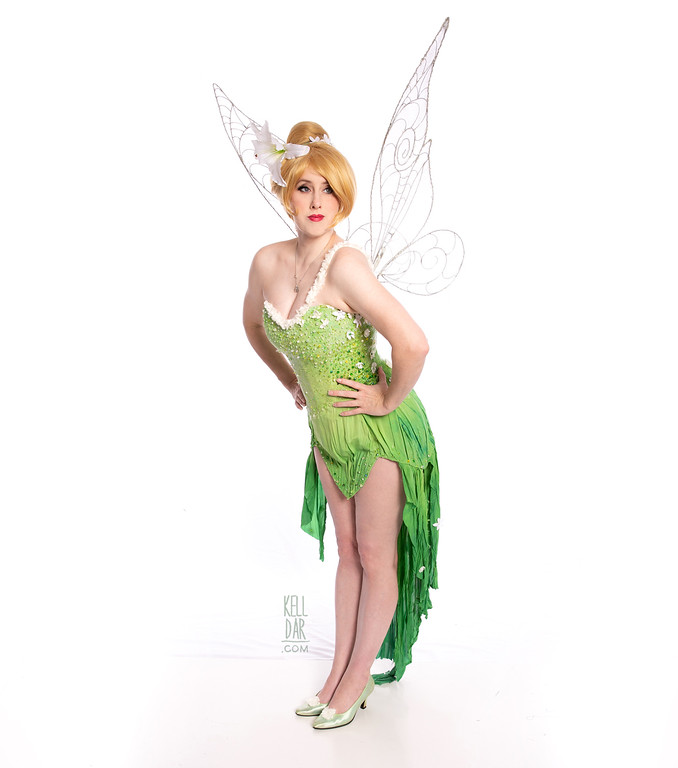
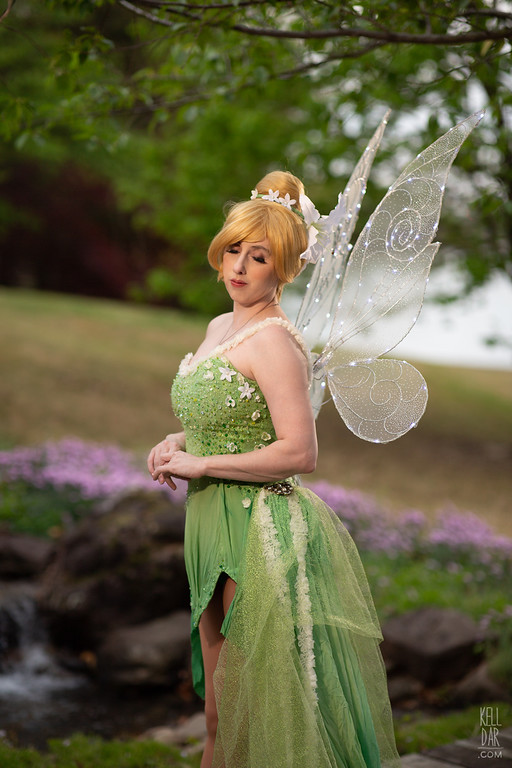
At this point I really still had no firm idea exactly how I wanted my Tinkerbell to look… I knew I wanted that gradient dye, I wanted beading, I wanted a side bustle, but that’s it. I played around with some different trims, fabrics, flowers and things I had in my stash. Finally I settled on doing a swath of a green glitter mesh across the bodice, and doing a TON of beading coming from the area the side bustle would be, up across the top. So I spent a few days hand-sewing the mesh in place, and beading the top – I used a lot of different tones of green crystal beads.

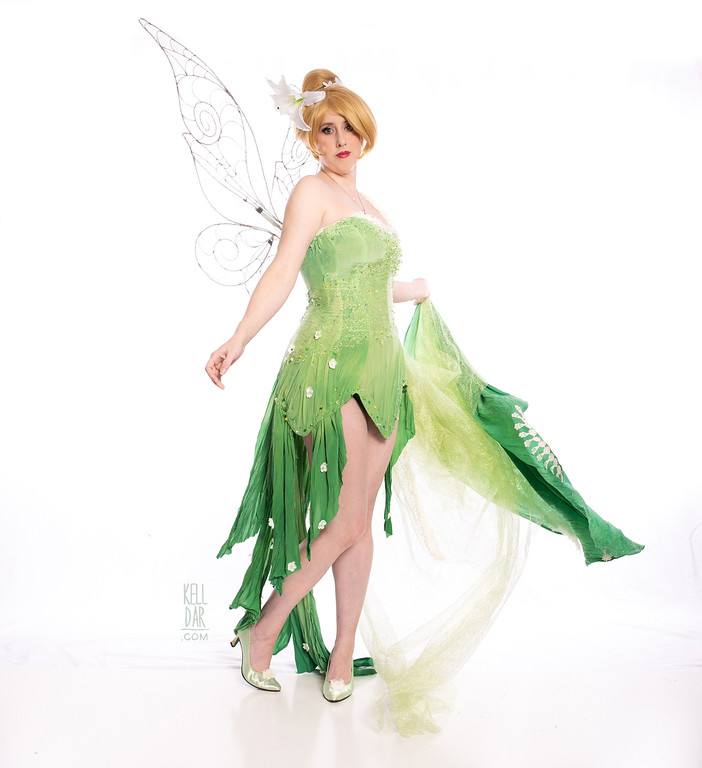
I also decided to use this white organza trim I got along the top edge and over the shoulder, with some small flowers – mostly again cascading down towards the side bustle, but also placed around the skirt panels in places. Once I had the top mostly done, I trimmed the excess off the skirt panels, pinned the fabric around the lining in a sort-of pleated fashion, and hand-sewed them into place. I took the excess I’d cut off and reattached them along the inside of the dress to create a tiered effect – shorter at the front going to floor length at the center back panels. I added a few beads along the bottom edge of the skirt panels.
The side bustle was made of my one leftover big piece of crepe de chine – I added one of the trims I’d bought and not used along the bottom edge. The crepe de chine piece I sandwiched between what was left of my green glitter mesh, and the leftover organza trim. I sewed all these panels to an interfaced green felt backing, which has snaps on the back — and there are 2 snaps hidden in the beading on the dress. So I can easily remove the bustle or not wear it at all if I don’t feel like it. I topped the bustle piece off with an art nouveau-esque brooch I’d found.
Wig:
The wig is a Blue Steele in pale blonde from Arda, with a hairbun in pale blonde (also from Arda) sewn in place. I thinned out and curled the front edges of the bangs, and pinned one side back. I think I need to trim them a bit more but overall I was happy with it.

I took a headband I had on hand and sewed a piece of my leftover crepe de chine around it, and then also sewed some of my white flowers from the dress, as well as one large white silk flower I had in my office for whatever reason. It fit perfectly around the bun so I didn’t have to sew or pin it in place at all.
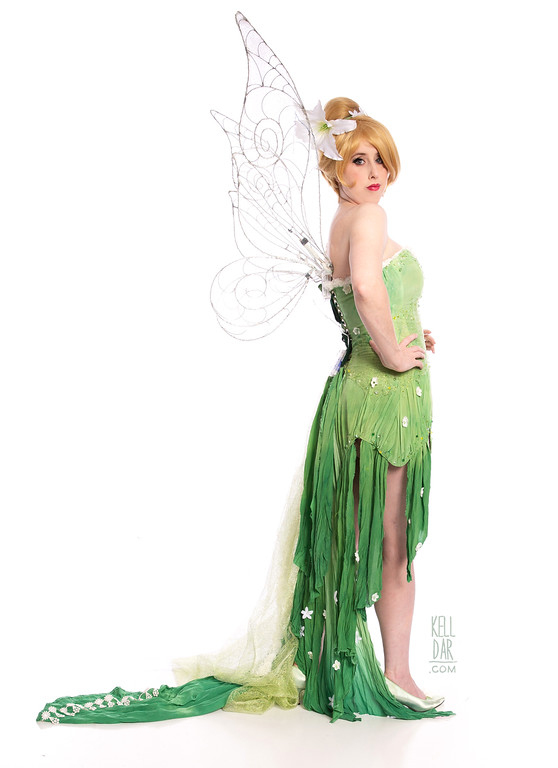
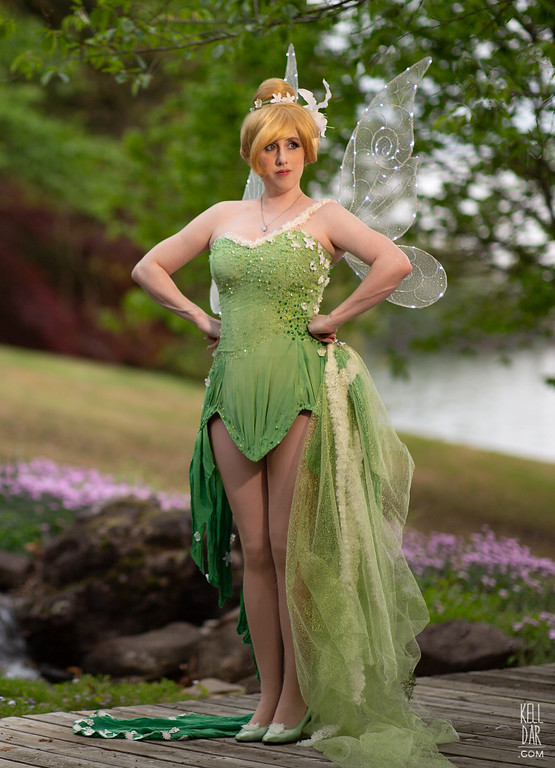
Wings:
My husband did a lot of work on my wings. He made a life-size pattern to get the scale we wanted, then made the frame out of wire, soldered at the joints. I ordered a thin green glitter mesh online, and covered the frames in that — originally I was going to sandwich the frames between 2 layers of the mesh, but that ended up being too opaque, so I only did one – I cut them out a little large, wrapped the fabric around the outside edge, then used silver embroidery floss to sew them in place. Once that was done I trimmed away the excess fabric on the inside.
We bought some fairy lights on amazon that are wrapped around the inside of the frame as well, so they would light up! Once the basic wings were done, Chase made a U-shaped connector piece that fits down into the back of my bodice — there are slots on the top of it that the wings fit into to hold them into place. The battery packs just clip onto the lacing of my bodice (though I’d like to find a better way to hide those).

Etc:
The shoes I bought at the second hand store and dyed green. I added two tufts of my organza trim to the front. They ended up being too small, but I was able to stretch them to fit! Yay!
The pants I made using a very soft knit and a pajama pants pattern. I just shortened them and got rid of the fly, and I gathered the fabric just below the knee to attach to some cuffs I made of the same fabric. They have an elastic waistband. Once they were done, I dyed them to be a bit darker – they were originally a light khaki colour.
His hat I made of felt and I’m so happy with how it turned out! I ended up having to dye the felt because I couldn’t find a colour I liked, but that ended up being easy, and the hat went together in no time. I sewed the feather on just inside the brim edge.
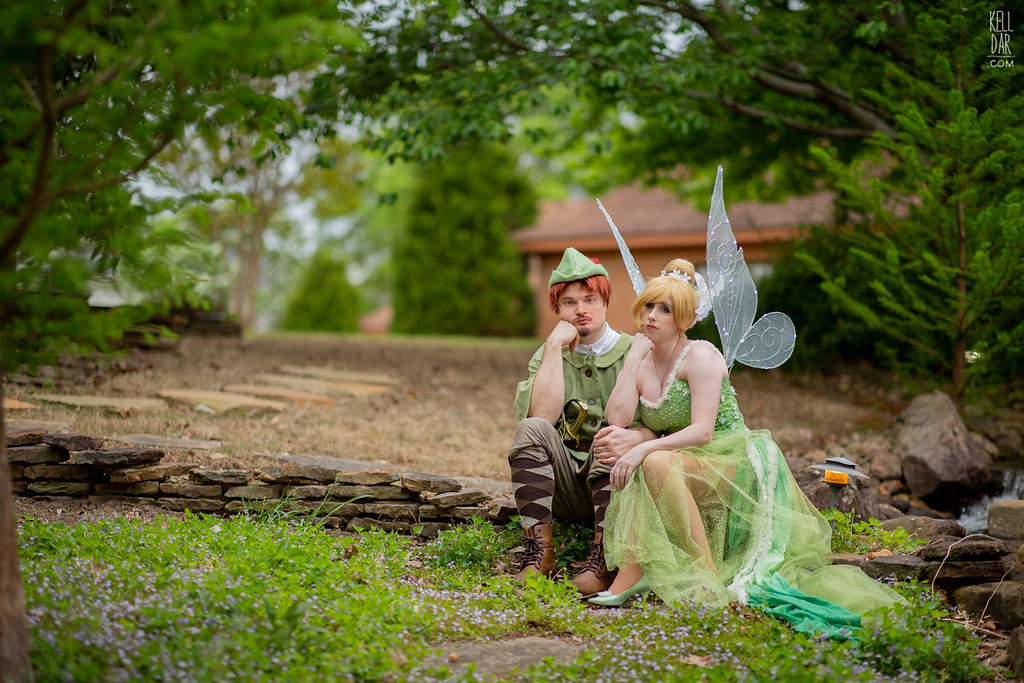
Peter Pan:
I’m just going to do a quick overview of Kevin’s Peter Pan costume. I used a green cotton to make a mock-up of the tunic, which also became the lining. Most of the linen used for the outside of the tunic was leftover from my TFA Leia – I put it in some dye remover and then dyed it green. Thanks to the blotchiness of the blue that had been on there previously, it gave it a nice weathered look. I thought I had enough of this re-dyed linen to make his tunic out of, but it wasn’t even close – I had to go find a similar linen and try to dye it to match to finish the back and sleeves. I think I did ok. I did a little decorative stitch on the collar, and the whole tunic buttons up the front with some wooden buttons Kevin picked out. The “undershirt” is actually just his Link dickie.
The belt and buckle I bought on amazon – the pouch on his belt is my Dolores pouch. I also bought him some knee socks to wear with his boots – I wanted a sort of “Edwardian school boy” look there. And his sword we just bought at the toy store – I wanted to repaint it and weather it, but he liked how it looked, so I left it. His wig was my old Mon Mothma wig, just trimmed shorter.
![]()


Please note that none of these costumes are for sale! This is my personal portfolio.