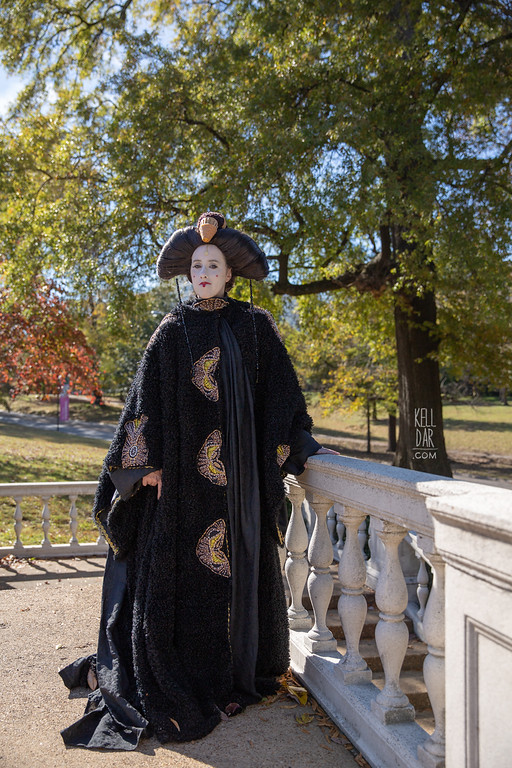
Queen Amidala – The Post-Senate Gown
Made for: Dragon Con 2018
Journal Entries: Read more at my Post-Senate Amidala tag
Related Costumes: Queen Amidala Parade Dress, Corde
![]()

![]()
 Patterns Used:
Simplicity 5840
Robe:
So I got started on this SUPER early. Like in January I was ordering my fabric. I leaned heavily on photos of the replica Lucasfilm had and a model tried on for the Rose Bowl Parade back in 2007 – those photos were a godsend considering the actual promo photos/screencaps of the real costume are tiny and kinda awful. (Has this one never been on display? I could not find that it had.)
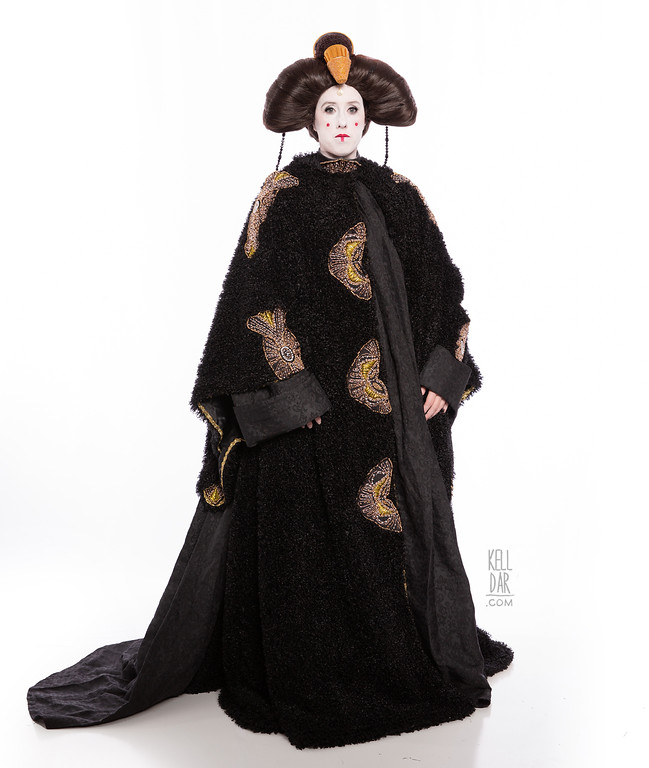
Anyway, I went with a minky-eyelash-fuzzy-chenille black fabric for the outer part of the robe, which was a bit fuzzier than the original but fairly close to the replica. I used the above pattern as a starting point, and added some insets into the seams to make the robe wider, shifted the front opening towards the left, and made the sleeves larger. To give some more support to the outer minky fabric, I lined the whole thing in a black taffeta. For the patterned silk sections of the “under robe” I looked high and low and finally found a decent option from India that was $18/yard. Ouch! I bought as little as I thought I could get away with it.
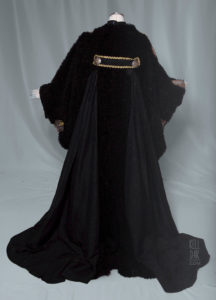
Originally, I was going to make this as an outer robe and an inner robe – since my inner robe fabric was so expensive, I was planning to supplement it with a cheaper look-a-like fabric in areas it wouldn’t be seen as much, like the upper sleeves. But the more I looked at photos and watched it on screen, I decided it needed to be one piece. Which was a life-saver considering the price (and distance) of that silk — I didn’t have to use NEAR as much! (Luckily. I just have scraps left at this point. I don’t think I would have been able to make a full underrobe with what I had!)
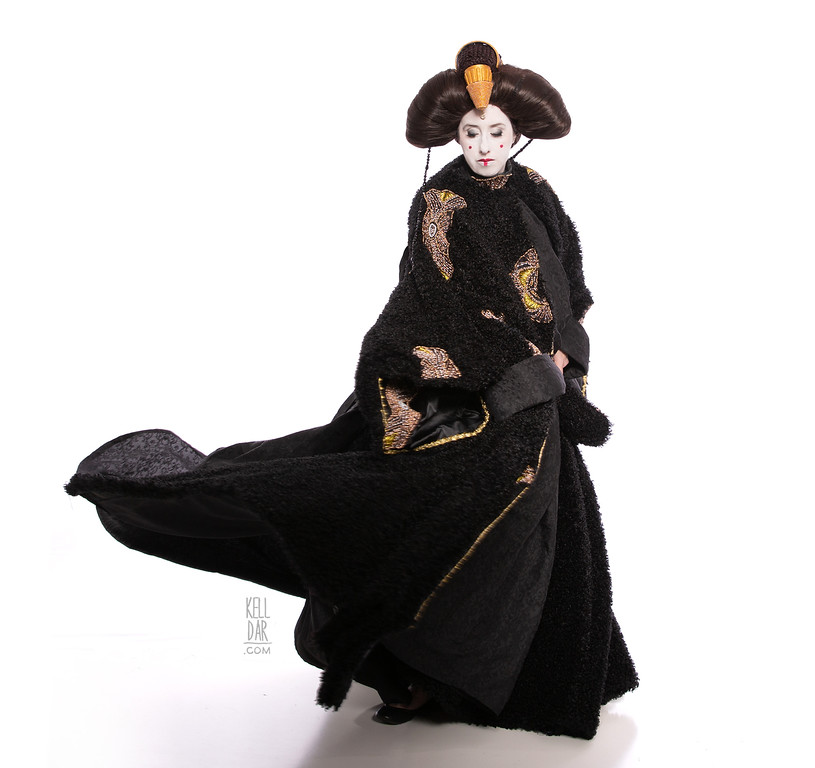
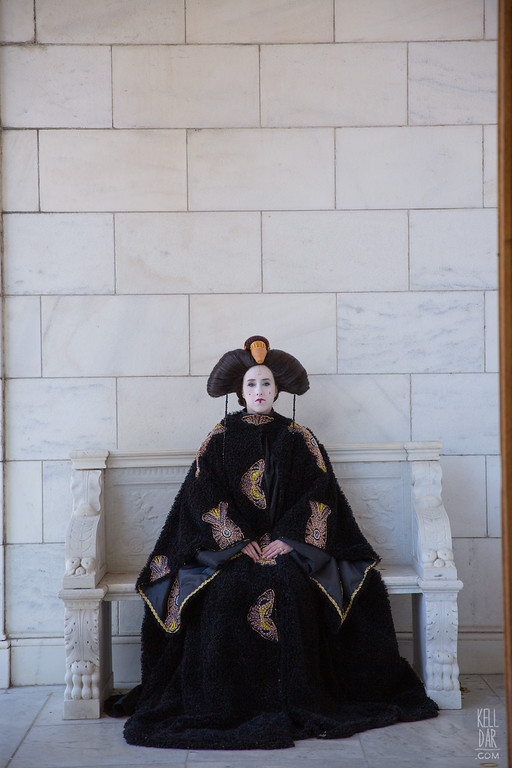
So with this change in direction, I used the black satin I’d originally bought to line the under-robe as a base for the two insets in the back and the one in the front. These were cut to the width I wanted those openings to be — so that each inset would not stretch open wider than I wanted. I cut lengths of the patterned silk for each inset, pleated them in place at the top of the satin inset, and then sewed them into place into the openings. I ended up having to hand-sew them into place, because by this point, the robe was so heavy and unwieldy I could not get it through my sewing machine without help! (The finished robe weighs 12 lbs!) I also ended up sewing the gold trim on by hand, and doing the hem by hand.
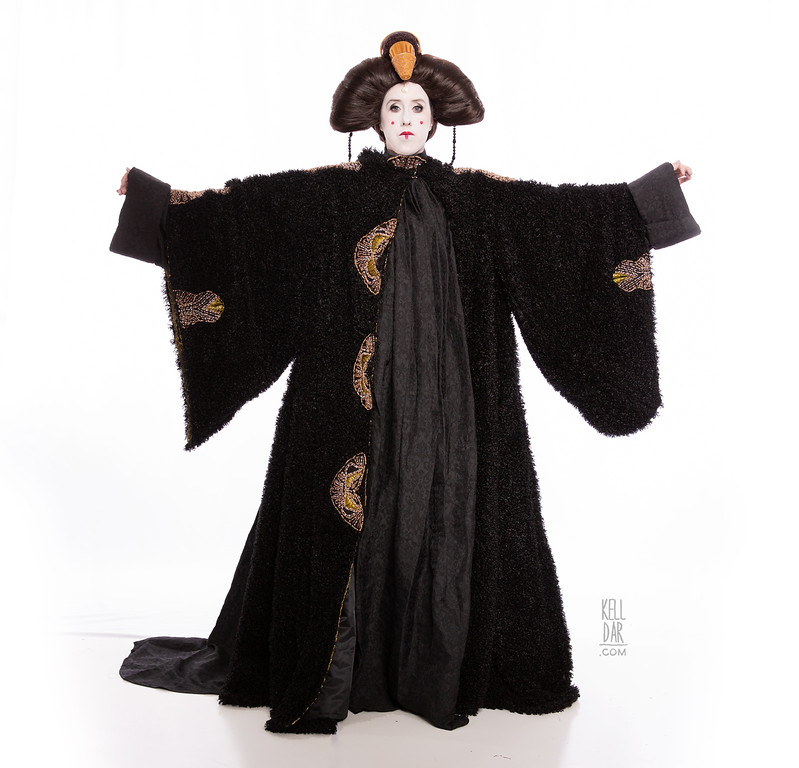
For the front inset, I only sewed it in place on the left side. The robe is a cross-closure – the lining of the front inset crosses over and snaps closed at the back of my neck, the right side of the robe crosses over and closes with a hook and eye at the top edge of the left side. I also added a couple of snaps lower down to keep the robe from opening too much as I walked. It worked REALLY well – it was really easy to take it off and on as needed while wearing it, so I didn’t overheat.

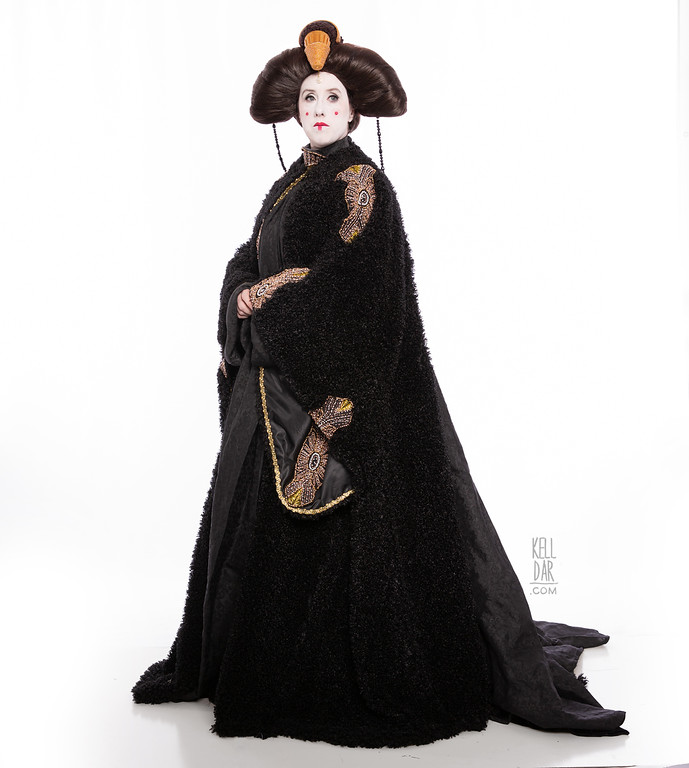
I waited til the robe was pretty much finished before attaching the sleeves. The inner sleeves I made of the patterned silk, with some batting sandwiched in the lower section for some added poofiness. I sewed these into place onto the outer sleeves at the shoulder, then sewed together as one piece onto the robe.
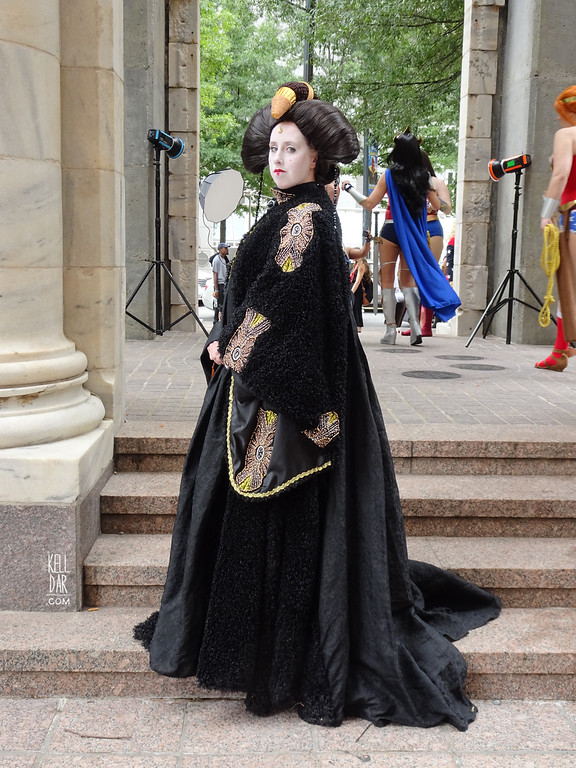
The back band at the top of the back insets is just a piece of the silk, lined in black satin, with some of my gold trim sewn in place. The medallions I found locally and sewed in place. I have no idea how close they are to being right – my only references are teeny tiny and there’s no telling detail on it.
Appliques:
One of the reasons I wanted to do this costume is because I loved the beaded appliques. I did not think they’d take very long to do. I ended up putting them off until after we moved – at the end of July. I finally got started on them the first week of August – and uhhhh that didn’t give me a lot of time to get these done.
I made the base of each applique out of black satin (using the wrong side), and black felt. I made pattern guides for each shape, and traced them onto my felt using chalk. I cut the felt pieces out, then just pinned a square of the satin onto the felt, and sewed it into place around the felt shape. Trimmed the excess of the satin away, clipped my corners and curves, and flipped them right side out. Once I pressed and top-stitched them they looked pretty good. The felt backing gave them some body which made them easier to work with.

I picked up all my beads locally, and it was hard to get the sizing right. I did almost one full one just to work out the kinks and get into a flow – from there I realized I needed to move my outer line all the way to the edge, that my white beads did not look good and I needed get some smaller, shinier ones, that I needed to add some metallics in, annnnnd that the parts I thought were gold bugle beads were not beads at all. I bought 4 boxes of those things LOL. But once I realized it was some kind of thread/cording it made sense.
Once I got everything figured out, I started by just doing the major outlines on each. Then I worked my way in with the rest of the larger beaded parts. Then I did the seed beads. Lastly I did the cording (I bought 3 options for cording – ended up going with a non-stretchy gold cord that worked ok.). The seed beads are what killed me. I could have had these done in a week if not for those. They just took SO long and even with my needle with the smallest eye, roughly 1 in 10 beads would not go over the eye, which was just an annoying slow down. My mom came to the rescue and did the seed beads on a couple of them for me over one weekend when I was on a road trip, which saved me a couple of nights of work. I officially finished them all 18 days after starting them… WHEW. When I initially finished them I wasn’t all that happy with them. I thought they looked messy. But once I got them sewn on and got to see the whole thing together… I’m good with them now. Yay.

Wig:
The wig was the bane of my freaking existence. Why? Because I didn’t even start on it til after I finished the whole robe. I gave myself pretty much a week to do this entire thing. My husband helped a LOT – he made the two front pieces and the bands for me. Thank goodness for him!
The base wig is from Arda. I cut pieces of foam to serve as the shape for the hair, and covered them in black spandex so they’d blend in a bit better if seen. Then I sewed that into the wig cap. Then I tried it on and realized the foam pieces were too big and out of proportion. So I had to take the whole thing apart, my husband helped me get them cut down, got them re-covered and re-sewn back into the wig cap and ready for the next step.
I laid the wig hair over the forms and heat-formed them into place, using Got2B Hair Spray and high heat from my hair dryer. Once it was kinda “shellacked” into place, I did a running stitch using black thread and a curved needle to hold it where I wanted it. I trimmed away the excess at the end. I only used the front portion of the wig for this — the back portion I separated out into a ponytail that I would use for the “fan” of hair at the end.

The curved piece along the top (which we called “the noodle”), we made by taking foam insulation, covering it in black spandex, and sewing into place onto the wig/foam forms. The two gold front pieces (made by my husband using found cardboard pieces, strung beads and gold paint), were glued into place onto the front of the “noodle.” I picked up some braided hair at the wig store and sewed each piece into place at the front, and then down the length to keep them in place. We then glued the gold bands in place on top of it (again, made of cardboard with strung beads – we ran out of the prestrung beads we used in the front so I had to find a “close enough” seed bead and make our own strung lengths at the last minute.)
I think caulked the end of the ponytail, tied it off with a ribbon (which also got caulked into place), folded it up into the last band and sewed it into place. I fanned the hair of the ponytail out as much as I could, but it still looked a little thin – so I may go back and beef it up later.
Accessories:
I just wore black flats for my shoes.
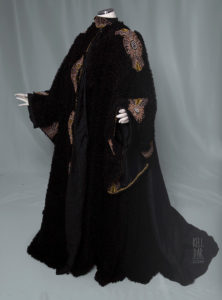
Originally, the collar of the robe was going to be attached to the robe. Of course. I had it all sewn in place, but just could not get positioned correctly with all the weird cross-over closures. After taking it off and re-positioning it a couple of times, I finally decided to just take it off, sew it onto a black t-shirt and wear it underneath everything. This made life SO much easier!! I bought a cheap black tshirt and just sewed it on at the front edge, and added a snap closure at the back.
It’s still not really sitting the way I want – it’s angling forward and not laying against my neck, and is also sitting a bit too high up – so I’m planning on going back to the drawing board and repatterning it from the start. I think a big part of the issue is the shape – thankfully I have plenty of scrap fabric to make it again a few more times if I need to!
![]()


![]()


Please note that none of these costumes are for sale! This is my personal portfolio.