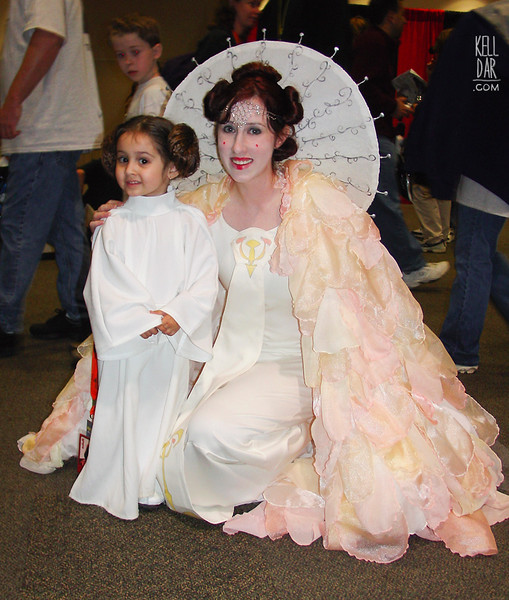
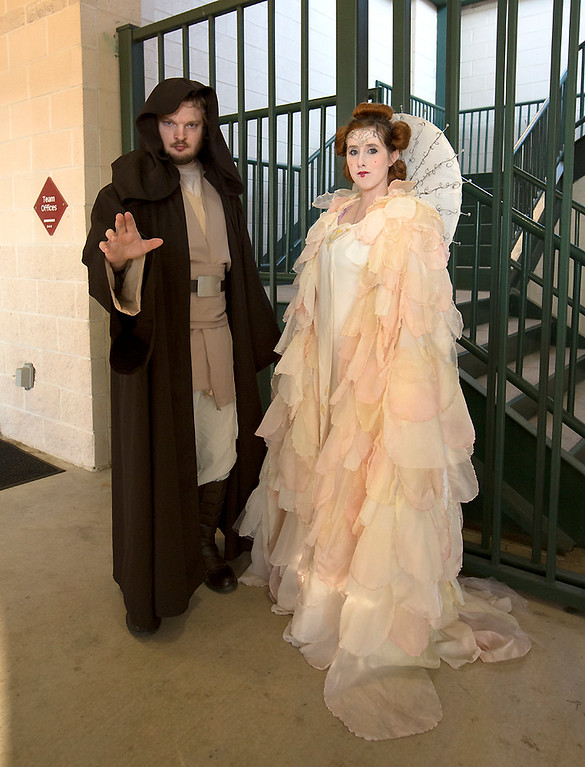
Queen Amidala – The Parade Gown
Made for: Star Wars Celebration 3/MidSouthCon 2005
Journal Entries: Read more at my Queen Amidala tag
Related Costumes: Queen Amidala Post Senate Gown, Padme Lake 5
![]()

![]()
 Patterns Used:
Simplicity 5093 (altered)
Dress:
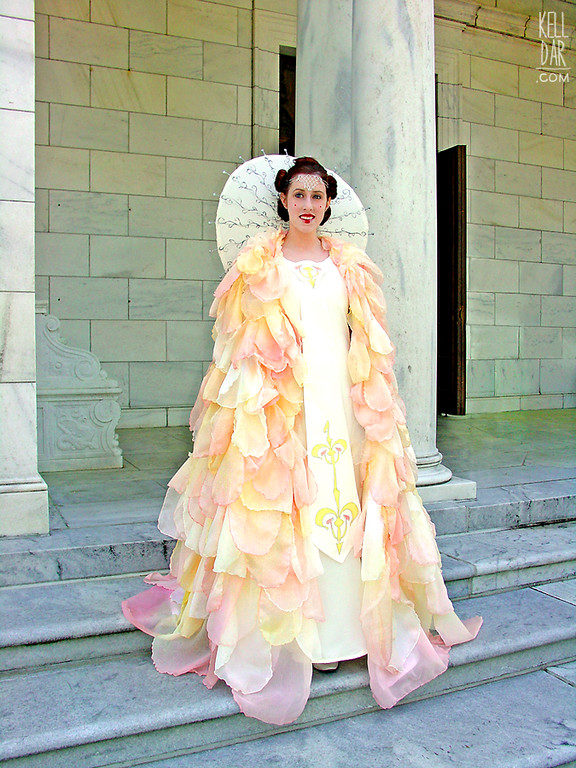
I used an off-white matte satin for the dress, lined with a similar colour of lining material to the knee seam. I used a pattern for the main dress – altered for the neckline, and since the pattern was made for stretchy fabric and my fabric definitely wasn’t – I had to add a back panel to make it fit correctly. It zips up the back. For the tabard piece, I made a pattern for the basic shape, cut out my fabric twice, and interfaced one of the pieces. Sewed them together and flipped them. I drew up the design for the naboo symbols in photoshop and then heat transferred it onto the fabric and attached it to the dress.
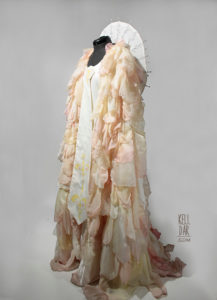
Cape:
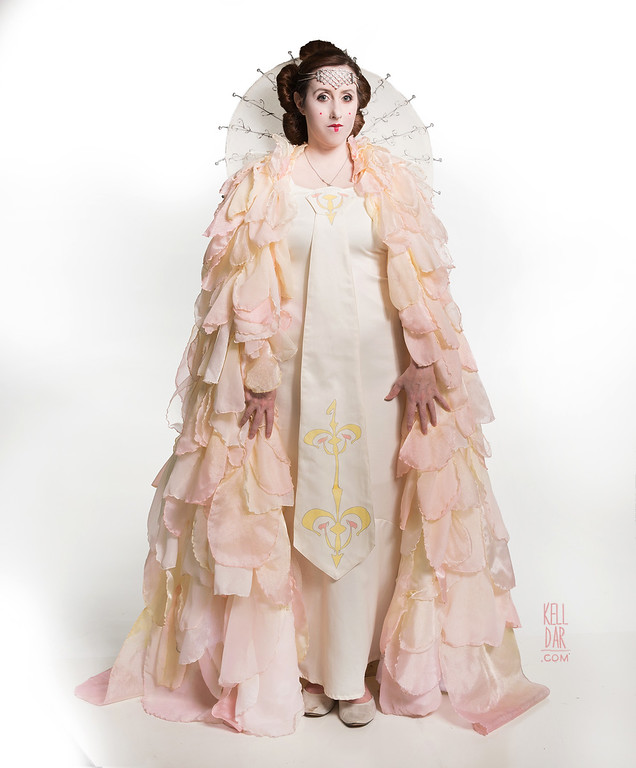
For the cape, I started by making a basic cape out of white material. I came up with three pattern pieces – one for large petals, one for medium size petals, and one for small petals. I used off-white chiffon, and off-white organza for the petals. (As I went along, I realized I needed more variation, so I ended up also creating a template for an extra small and extra large.)

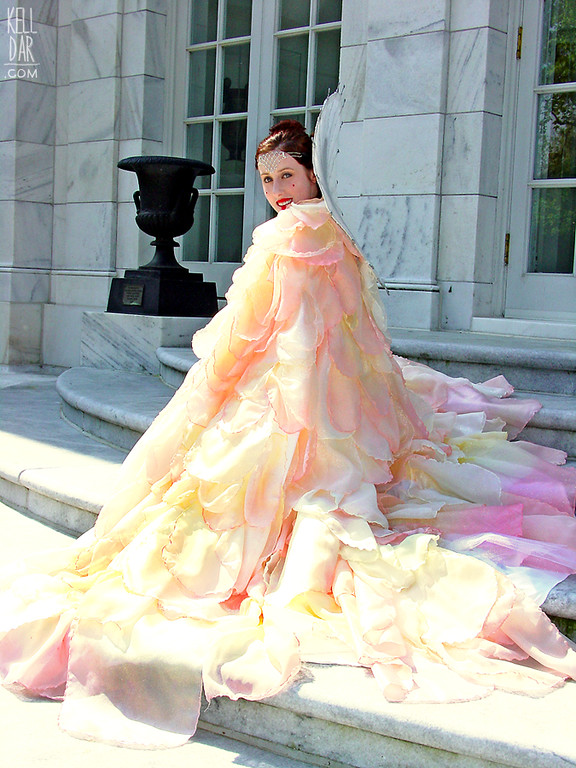
Even though on the original dress, the petals are unhemmed, I wanted my dress to not fray, so I finished the edges on my serger. I cut out petals out of both fabrics – each petal is two layers and each has a rolled edge done on my serger. I dyed each petal in yellow and pink dye, then started attaching them. Ended up having to go back for more organza and chiffon twice – all in all I ended up using over 40 yards of fabric for the cape. Towards the bottom, before sewing the petals on, I sewed layers of netting to help add some body to it. I still dream of sewing those petals on… it went on for forever! Years later I’d still occasionally find a petal I’d missed just pinned on LOL. I sewed arm straps in to hold the cape in place, and also “handles” at the front edge, that I could hold to keep the cape in front of me.
Tiara/Parasol:
The tiara I made out of wire and beads. The parasol was also a bit of a head-scratcher – my dad helped me out with it. We used a bendable wire, and started by making a sort-of wheel, two circles (one small for the center, one large for the outer loop) with metal rods for spokes. We used JB Weld to create the shapes on the end of each spoke. I covered the hoop in crinkle organza, then I painted the designs on. I had originally planned to embroider them, but didn’t like how it looked like that after doing a few test stitches, so I stuck with painting. Once all that was done, we bent it (very carefully!) to have the curve the real one does. It attaches to the cape via a velcro tab.
In 2017 Chase made a brand new tiara for me! It can be seen in the newer photos in the gallery below. It is 3d printed with added rhinestones.

Accessories:
The original costume has sheer sleeves – I opted to make a pair of sheer gauntlets instead, made out of the same material as the parasol. I think I’ve only worn them twice, as the extra warmth of wearing gloves underneath all those layers is generally not something I want! The shoes I bought on ebay and reapinted.
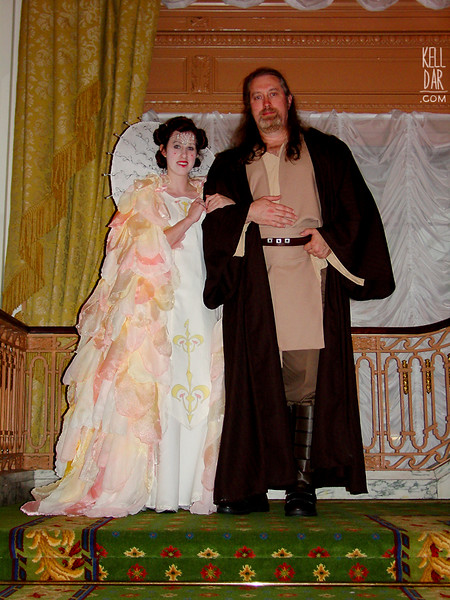
Hair::
For years I used my own hair – here is my tutorial on how I used to do it. Over the years I tried several times to make a hairpiece to wear instead, but it never worked out. Finally in 2017, I buckled down and made the hairpiece. I have a small tutorial on how I created it – basically I took a clip-on ponytail, removed the clip, made a wire base that inserted into the bun, and then made foam shapes for the end of each wire that the hair wraps around.
History:
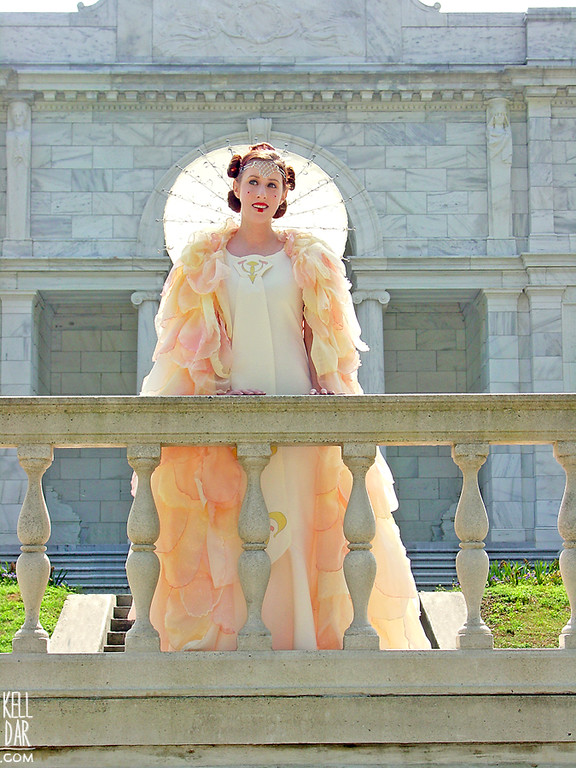
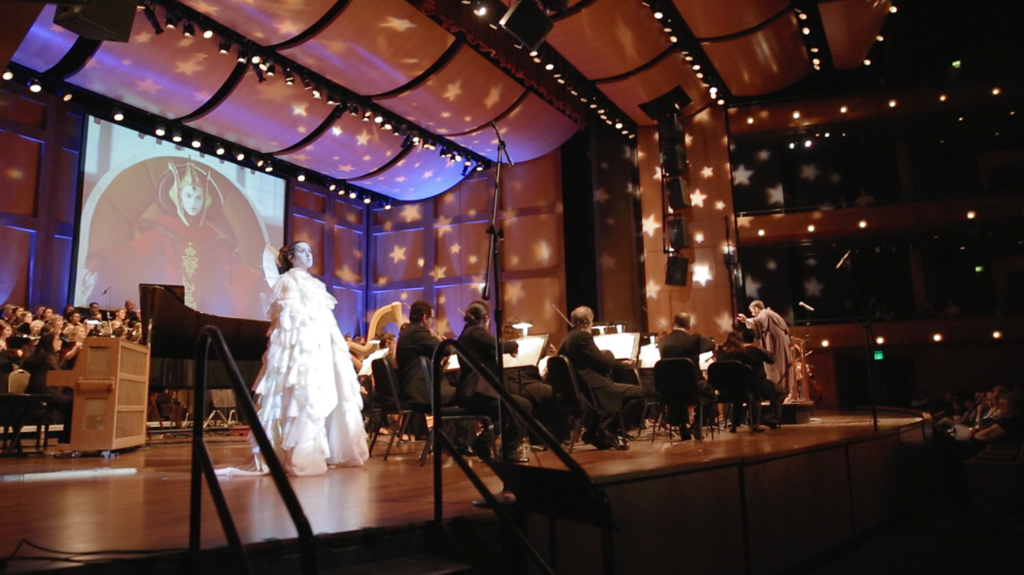
I haven’t gotten to wear this a ton as the parasol makes it difficult to transport, but it’s one of my fav costumes I’ve done. In 2017 I finally got to do some long overdue updates and white backdrop photoshoot. It still looks pretty nice, 12 years later 🙂
As of 2025 it has definitely seen some colour loss in the petals, the dress doesn’t fit great anymore (and the tiny issues I had early on with fit from making it using a stretch pattern have only gotten worse now that it doesn’t fit the same anymore), plus the dress has a lot of damage at the upper top from me safety pinning the cape to it multiple times over the years. It’s time for a remake!
![]()


![]()


Please note that none of these costumes are for sale! This is my personal portfolio.