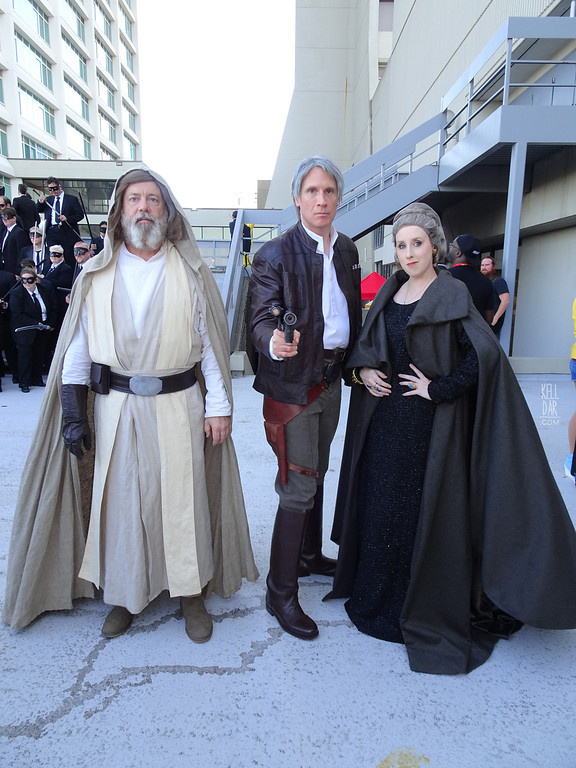
Princess Leia – Crait
Made for: Dragon Con 2018
Journal Entries: Read more at my Crait Leia tag
Related Costumes: Raddus Bridge Leia, TFA Blue Dress Leia
![]()

![]()
 Patterns Used:
I know I used one for the inner dress but can’t remember what it was.
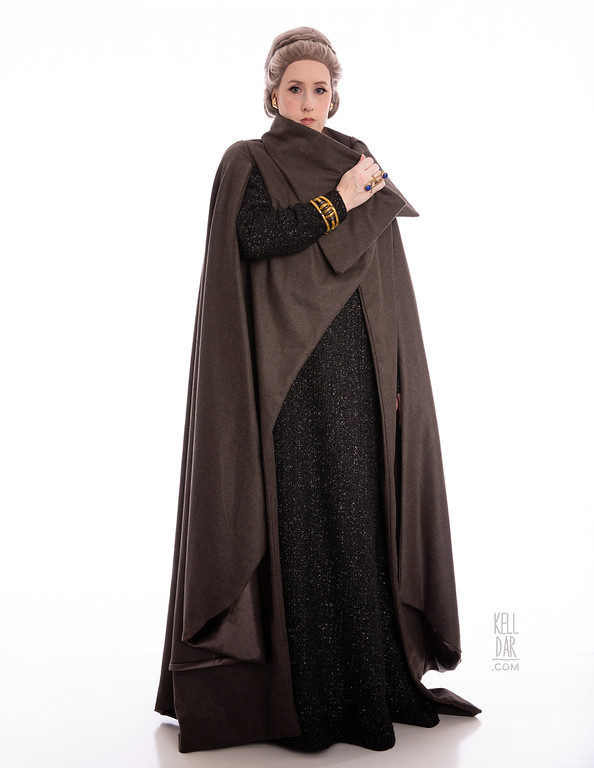
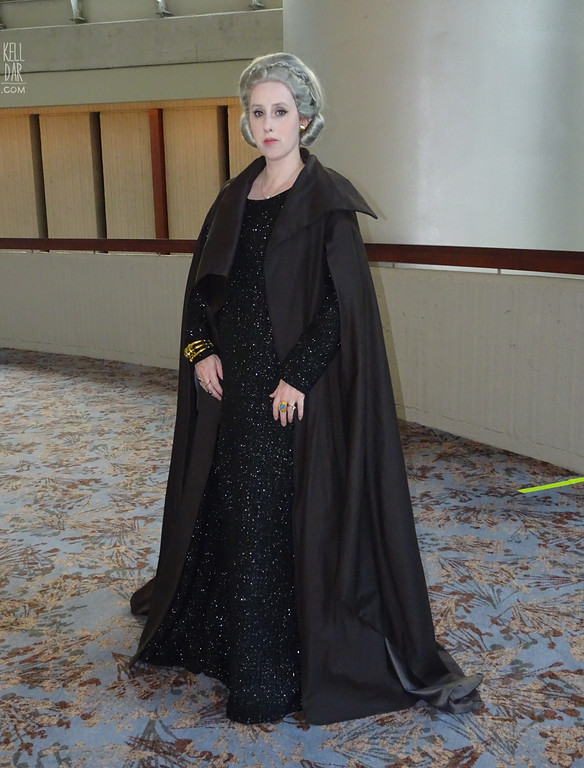
Robe (Version 1):
I picked up my robe fabric and inner dress fabric at Fine Fabrics in Atlanta while on a weekend trip; they weren’t 100%, but close enough I felt comfortable getting a start on a first version. For the robe, I didn’t use a pattern – I went through 2 mock-ups to get it close, and then used the pieces of the second mock-up as a pattern to cut my real fabric. Aaaaand guess what, I was short probably about another yard on my robe fabric. UGH. I was able to make it work, after playing tetris with the fabric and pattern pieces for an evening – I had to lose some width in the front panels, which ended up being fine and needed, but I also had to add a back seam to make it all fit – I couldn’t get the back panel on a fold anywhere.
In the end I was ok with that, because I was considering this mark one anyway, so moving forward! I lined the sleeves in a grey satin, and the back panel of the robe in a black taffeta. The front panels were self-lined, and I ironed on interfacing to the collar pieces before sewing them together. The attached sleeves were the trickiest part – I had to redo them several times to get them positioned right and not wrinkled or weird.

Overall I was decently happy with it, even thought I was already planning the second version – which I’ll talk about in a moment.
Inner Dress:
The inner dress was a very loosely-woven black fabric with silver metallic threads mixed in. It was probably a little TOO sparkly, but honestly… is there such a thing as too sparkly? Since it was such a loose-weave, I lined it in a black cotton, not only for comfort but also to keep it from being see-through. I used the same pattern I used for my 2nd TFA Leia underdress, and it worked really well – I knocked the inner dress out in about a day.
And then I didn’t put both items on together until I was AT Dragoncon. LOL, I blame moving in the middle of Dragoncon season!
Wig:
Soooooooo the wig.
So if you’ve seen my TFA Leia, you know I have a GORGEOUS custom wig made by Custom Wig Co. And they told me it could be restyled for any other new era Leia costumes! So I planned to do Crait, but… I didn’t want to mess up my beautiful TFA Leia wig. So I decided, for now, I’d buy a lacefront wig and style it for Crait, get it figured out, wear it for a bit, until I’m comfortable restyling my custom wig. So I did buy a new wig. And it sat in a box until the weekend before DragonCon. Because I just really didn’t even want to figure it out. So finally the Saturday before Dragoncon I dragged it out, slapped it together and called it a day. It’s way too light-toned, the buns in the back are wrong, and it’s insanely back heavy and uncomfortable to wear.

Read on below for the wig updates I did in 2019…
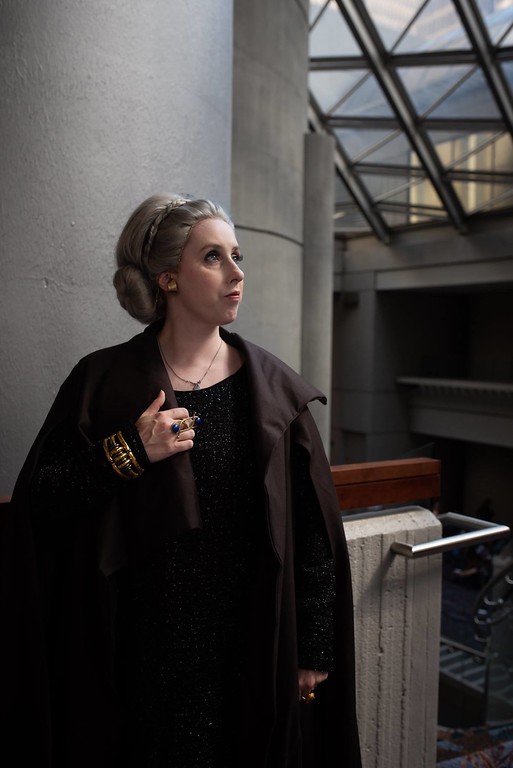
Accessories:
I have so much beautiful jewelry made by other people! My ring is made by Rebellion Barbie, earrings by The Moonlight Myth and my bracelet is by Tess of Garrison Titan – shoot me a message and I’ll pass her email along to you!
The other ring I put together using a ring from Michael’s, some paint, and some model magic. I’m waiting to find some lovely crafter who is making that one so I can just buy a new one 🙂
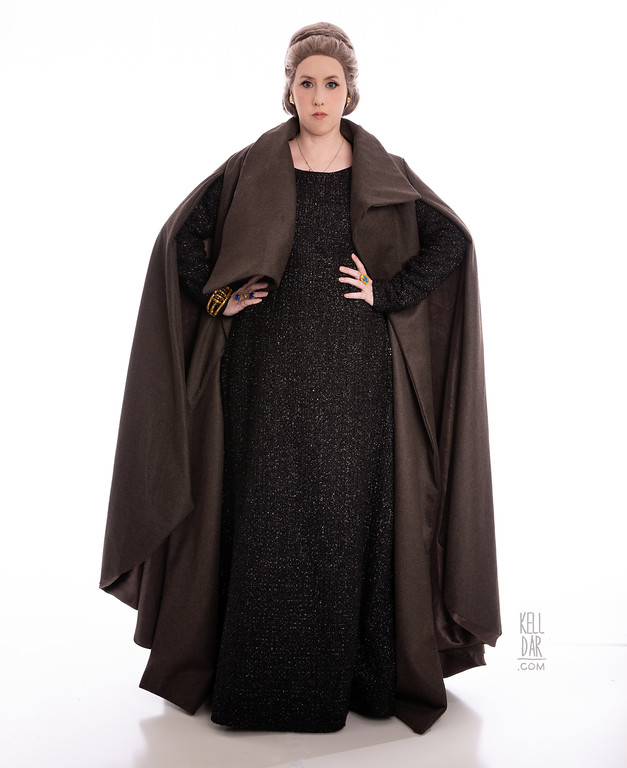
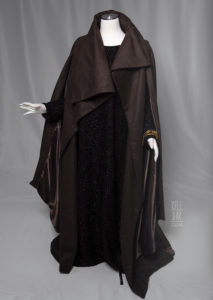
2019 Updates/Robe Version 2:
So with all those updates I wanted to make in mind, I set about making a new robe for Dragoncon 2019. While we were in Atlanta back in March I went by Fine Fabrics and picked up a new robe fabric. It’s still not completely accurate, but I liked the texture and colour so I decided to use it.
Unfortunately in between moving I managed to lose my original pattern pieces for the robe – I could only find 2 of the pattern panels. So I cut the new pieces based off the actual robe version 1 instead of the mockup, just laying it on the ground and tracing around the sleeves and front panels.  I tweaked the shape a little, shortened the robe itself and shortening the sleeves a lot/changing the sleeve shape. The two front panels are self-lined and interfaced, the back is lined with just some basic black material (collar has a facing), and the sleeves are lined with a grey satin I dyed. I ordered the satin online and it came much lighter than I expected so I threw it in some poly dye.
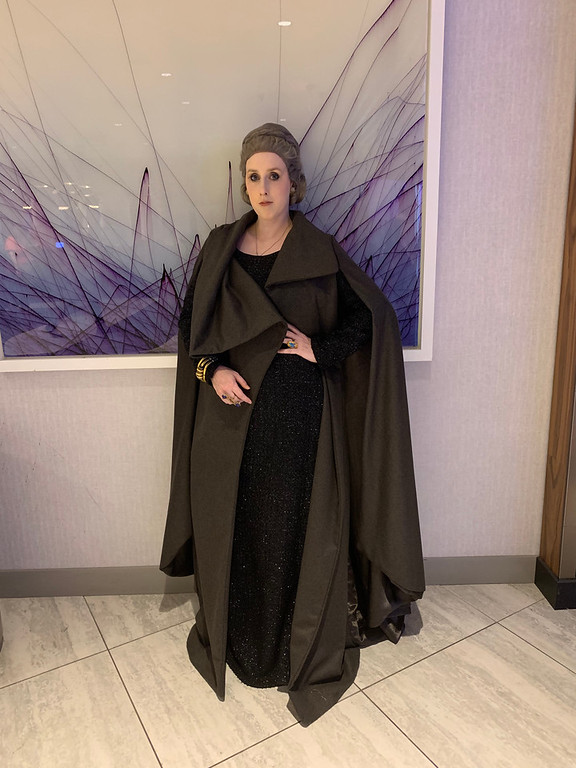
The hardest part of it was getting the sleeves attached, it’s a weird angle to sew AND the robe was super heavy – to the point I had to have help getting it through the machine. I basted them in place first, got the first one sewn on… then let it sit for like 2 months before finally machine-sewing the second one on the weekend before Dragoncon LOL.
The other update I made to the costume was the wig. I took the wig apart and dyed both sections darker – using a combo of graphite, chocolate brown and apricot. It got a decent amount darker – I think I could have gone a hair further (haha get it) – but overall I was pretty happy with the colour. Only problem was it also dyed the lacefront which made it really hard to blend when wearing it and I ended up just having to tuck the lace in – I may try to go back and repaint it. I styled the front same as I did previously, but this time I left the back down and rolled it into buns and pinned it once I was wearing it at the con. One day I’ll restyle my Custom Wig Co wig to wear with this, but until I do, this is slightly better than it was before.
![]()


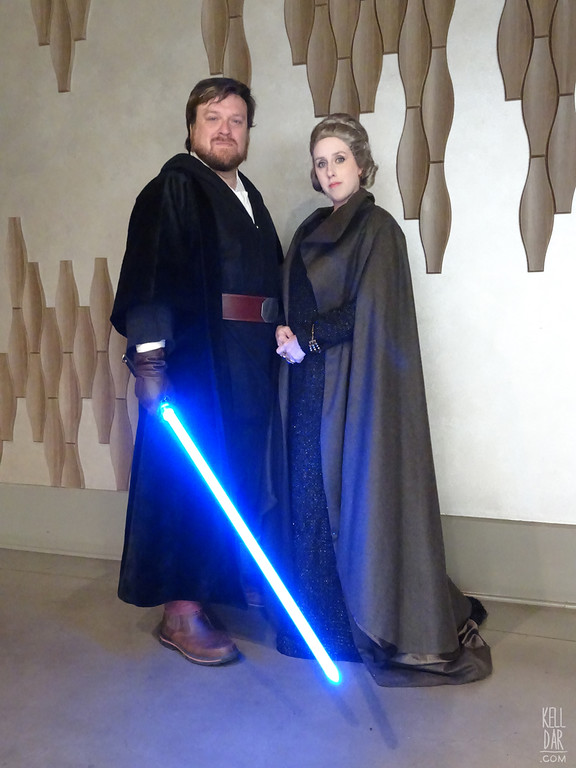
2019 Progress:


![]()


Please note that none of these costumes are for sale! This is my personal portfolio.