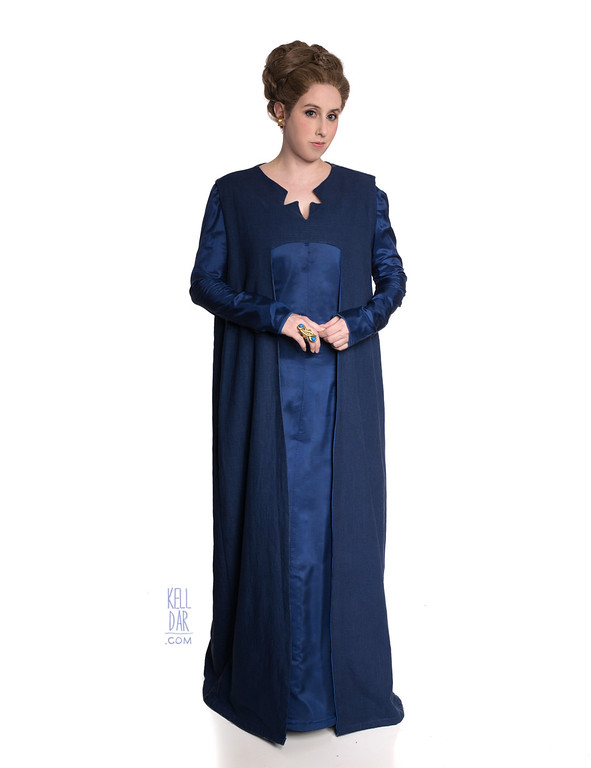
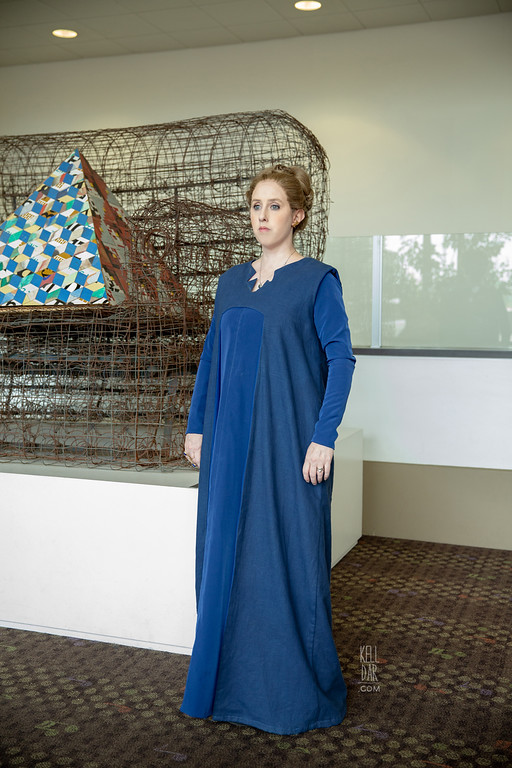
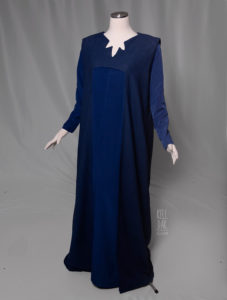
(General) Princess Leia – Blue Dress
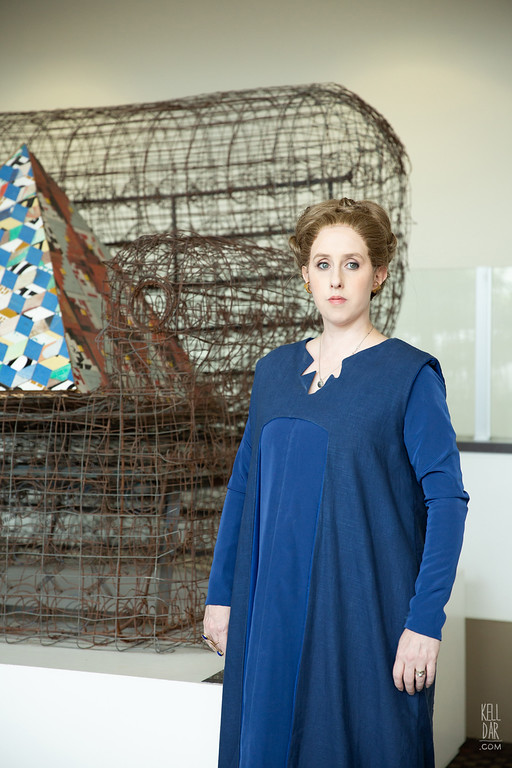
Made for: Dragon Con 2017
Journal Entries: Read more at my TFA Blue Dress Leia tag
Related Costumes: Crait Leia, Raddus Bridge Leia
![]()

![]()
 Patterns Used:
Butterick 4827 (inner dress – not recommended, see below), no pattern used for outer dress
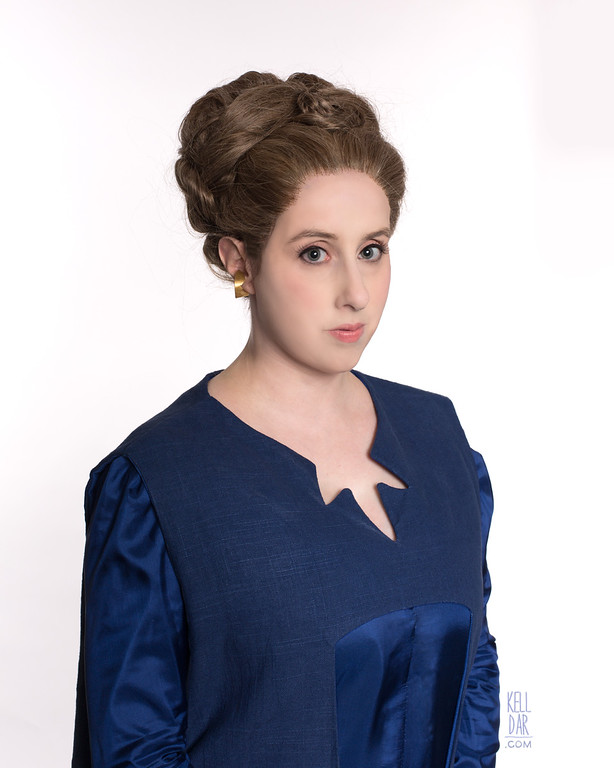
Wig:
Let’s start with the fun part!!
So in May, Custom Wig Co had a giveaway contest on their facebook page – when you entered you could say a Star Wars wig you wanted, and one person would win their wig. Guess who won!!!!! I flipped out because I love Custom Wig Co’s work and I’ve been following them for a while. This was the wig I picked, of course – the hairstyle Carrie Fisher called the “baboon butt” hair. They made a custom-made wig to fit my head and it is AMAAAAAAAAAZING. I never thought I’d get to splurge on a costume piece like this. I can’t believe I won something so cool, and that I have this beautiful wig! Go check out their amazing work at their website or facebook.
So the rest of this costume was a little bit of a pain in the butt for looking so simple.
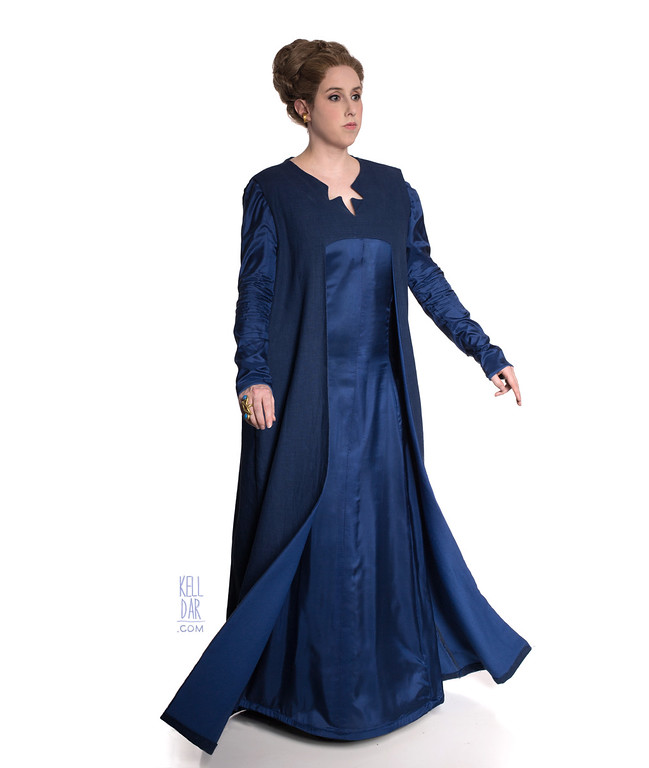
Outer Dress:

I bought a nice fabric at the store that had a weave that looked aaaabout right. Unfortunately it was a blend, but I had a successful dye test using a blend of both regular dye and poly dye. So I went with it! I initially tried to dye the fabric all at once but it came out too light – I figured the problem was having too much fabric for the dye.
So I went ahead and patterned out the dress – just cut two basic pieces out of some scrap blue satin, cut them down to size and fit, and then took those pieces apart to use as a pattern to cut my real fabric, and also to line it.
With my newly cut panels I tried dyeing again – again too light. So I tried again, and this time….. way too dark. I tried a colour remover which did strip SOME of the colour but not all of it – I was left with ugly splotchy, useless panels.
I went and found a new linen – this time NOT a blend – and started over. It took a couple of rounds to get it to where you see it now – I would have liked it to be a little deeper and more saturated, but at that point< I was tired of messing with it. I got the lining sewn into the panels, and then it was time to do the star shape at the neckline.
Chase helped me make a pattern. Once we had it sized right, I traced the pattern into place onto the lining, while I had the front panel flipped inside out. (Oh — and I applied some interfacing to the neckline before this, so it would be reinforced). Then I sewed over the guide lines, and cut the excess fabric away. I flipped it right side out, pressed it, and called it a day.

Got the front and back panels sewn together, and hemmed, and it was finally done.
Inner Dress:
I had MORE dye problems with the inner dress as well. For whatever reason I thought Butterick 4827 would be an ok pattern for this, but it absolutely was not. Honestly don’t know what I was thinking.
I had a really pretty blue fabric I’d gotten at joann’s but it was a little too bright/saturated – so I did a dye test and it dyed nicely. I got my panels cut out and into the dye…. and every single panel came out totally different. Some came out perfect. Some came out like there was no dye on them at all. Some came out perfectly gradiated from my dye colour to no dye at all — and some came out GREEN. I tried to salvage this fabric by recutting the front panel and sleeves – the main parts that would be seen. I had just enough fabric left to do that. I tried one more time – just the front panel and sleeves in the same dye pot at the same time. Plenty of room for them to flow freely. I stirred constantly. One sleeve was perfect. One was not. The front panel was green.
So after all my trouble with the outer dress I was so done. I went online and ordered a few yards of a navy blue silk habotai and just made the inner dress out of that. It was notnot the right pattern. It was much too fitted. I did go back and line the front panel with a heavier fabric so it didn’t look quite so flimsy, but overall, I will be remaking this inner dress at some point in the future.

2018 Update: In late 2017 I started construction on a new underdress! I did not put the finishing touches on it til June 2018, because I wanted it for Anime Blues Con that month. You can see those pics in the gallery above with the new under dress. I did use a pattern for this, though I don’t remember what it was (I’ll go back and look soon and update!). I picked out a peachskin fabric online I liked the colour and sheen of – the first colour I picked out was too green. So I just reordered the same yardage in a different tone and that one looked great with my outer dress. Since the peachskin is so thin and drapey, I lined it with a taffeta to give it some more body.
New underdress is 100x better than the old one. It’s comfy and sits right and looks SO MUCH better.
Accessories:
So at Dragon Con I did not have any of the ring, I’ve been delaying hoping I can get a real ring sometime soon! But I wanted one for my photoshoot, so I quickly made one out of worbla and apoxy clay, with two painted buttons for the “stones.” My earrings were just two pieces of worbla, painted gold.
In 2018 I got one of Monique Renee’s beautiful handcrafted rings! It can be seen in the Anime Blues Con photos above.
![]()


![]()


Please note that none of these costumes are for sale! This is my personal portfolio.