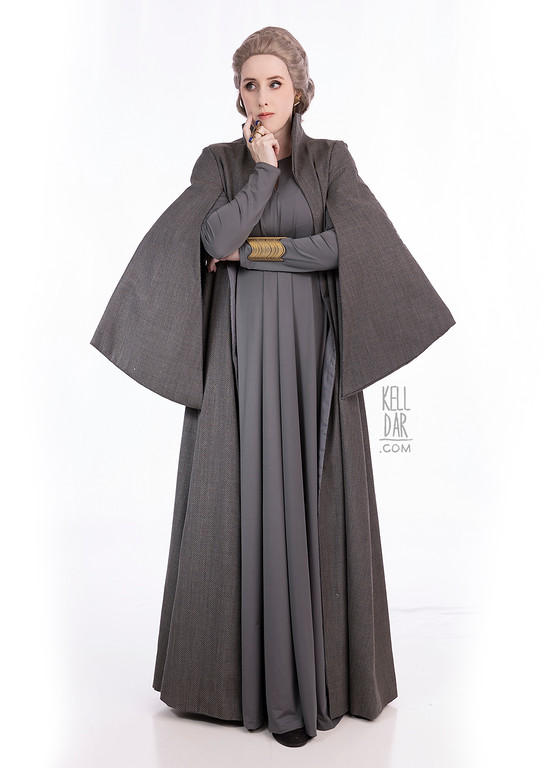
Princess Leia – Raddus Bridge Dress
Made for: Nothing, December 2019
Journal Entries: Read more at my Raddus Leia tag
Related Costumes: Crait Leia, TFA Blue Dress Leia
![]()
![]()
 Patterns Used:
McCall’s M5155 (underdress, modified neckline), Simplicity 4443 (robe, modified quite a bit.)
I usually take the winter off any major sewing projects, but I had all this fabric for this on hand and decided to go ahead and get it started… and ended up finishing it up much faster than I expected, as my last costume of 2019.
For this costume my blog posts may be a bit more informative… I finished this costume in December 2019 but then didn’t wear it until late February 2020. So I’m just now, in mid-March, writing up the portfolio entry and I may have forgotten some details by this point! I knew I should have gone ahead and written this up and just saved it as a draft! (though now after writing it I think I did OK.)
Underdress:
I picked up this grey knit while in Minnesota in October 2019. It had to fly back home with me in the bottom of my backpack, because we didn’t check any luggage LOL. I decided to use McCalls M5155, I liked that it was a full, wide dress that could be gathered up under the bust, and had a neckline that would be easy to modify. When I cut it out, I just cut the neckline up higher, and when I sewed it together, I didn’t sew all the way up the front seam, to create the split opening at the top. I also cut the facing differently to fit.

Initially, I ironed some interfacing onto the facing, then got it sewn in… and wasn’t liking it. The added interfacing was just causing a lot of lumpiness around the neck edge because the fabric is so thin. I think the interfacing I used was just too stiff for the project overall; an iron-on tricot interfacing would have worked better. It was also wanting to flip up – a problem that MAY have been fixed understitching, but I already wasn’t happy with the lumpiness and didn’t want to add extra stitching I’d have to take off if I decided to take it out. In the end I removed the facing, cut NEW facing that was longer – to just under the bust, so more like a half-lining – and installed that with no interfacing this time. It worked much better, no lumps, and wasn’t rolling up as much. I did end up having to tack the two front edges together.
I also changed out the sleeves. The sleeves on this pattern were a 2 part sleeve and ENORMOUS. I switched to a 1 part sleeve that was more fitted. I also added belt loops for the front “belt” piece to loop through. The belt piece is just an interfaced rectangle of the fabric, flipped right side out and attached to a long strip I made of the same fabric. It snaps closed in the back.
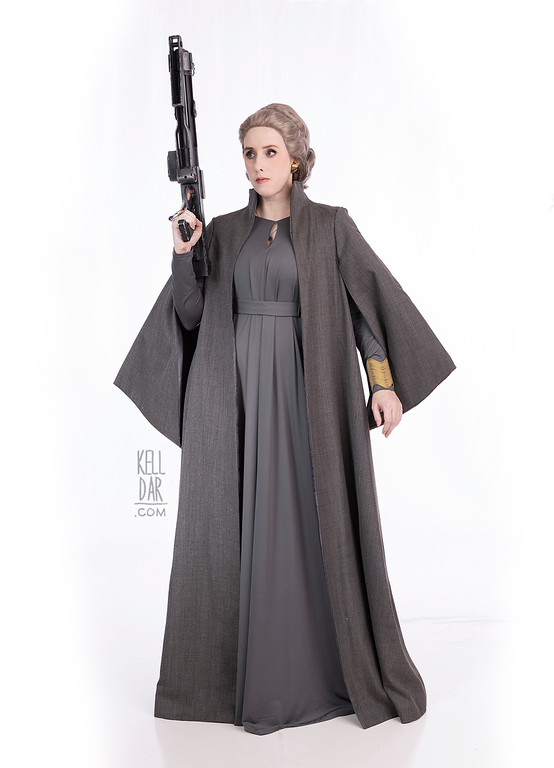
Robe:
I searched high and low for an acceptable fabric to use for the robe to no avail, until my IG friend @sashadechagny suggested this wool from fabric.com. It’s great and was lovely to work with! Once I had this fabric in hand the project really sped up.

I pulled out the old Simplicity Padme/Leia pattern 4443 – the Padme “Peacock” gown look was a pretty decent base for this to start from, though I made so many adjustments it may have been easier to just draft it myself LOL. But it did have a similar collar, a similar sleeve, and a similar overall silhouette. First thing I did was to cut out the pattern using some scrap lining fabric – I eliminated a chest seam and added a shoulder seam, changed the collar shape a bit, and lengthened the overall robe, since the pattern was only about knee length. I also changed the sleeve shape, but it was good starting place for it. Once I had the changes made on the mock up pattern, I decided to go ahead and do a second mock-up before cutting my actual fabric (at the time it was sold out and I wasn’t sure they’d be getting more! But they did eventually!). Second mock-up I did using some grey lining material, in hopes I could use it to line the actual robe.
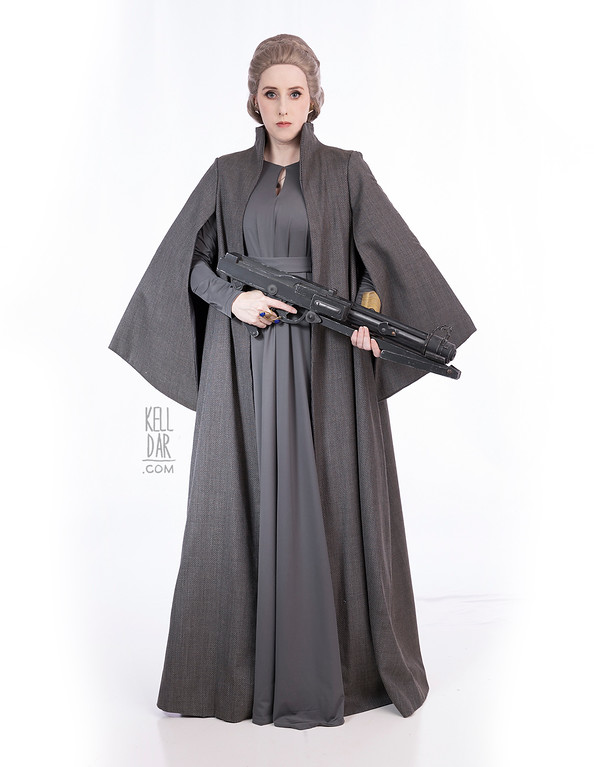
I had to make some further tweaks to the collar shape and sleeve shape in the second mock-up stage, but nothing major. For the actual thing, I started with the sleeves – I added some very stiff interfacing to the lining, then sewed them all together, leaving an opening at the top edge to turn it right side out. You can see the basic shape of the sleeve I ended up with in the photos. Once I had them flipped, I sewed the bottom edge closed. I was pretty happy with how they turned out.

I also interfaced the collar segment of the lining for the robe. The collar presented some problems – I had to make a facing of my actual wool fabric to add to the lining layer, so where the collar flipped over, it was still the same fabric. I ended up taking too much in at the shoulder seams on the facing/lining layer, making the collar too “short”, width-wise. I had to recut the back panel to fix it, but thankfully I’d cut extra on my actual fabric layer so it still worked ok.
Once I had the lining and robe layers assembled, I got the sleeves attached, and finished the bottom hem by hand.
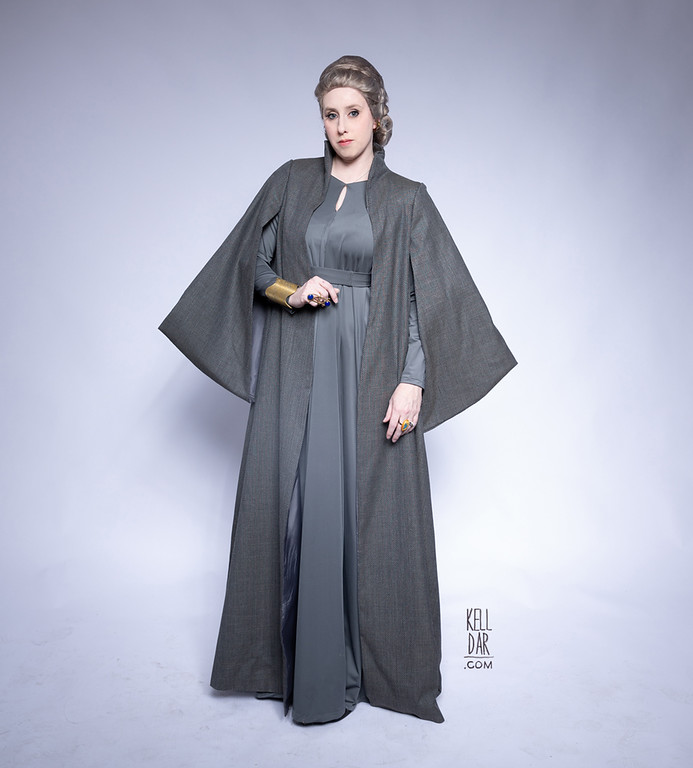
Accessories:
Still using my dyed Arda wig; one day I’ll switch to my Custom Wig Co wig for TLJ costumes. I just don’t want to have to restyle that TFA look! My bracelet was modeled by my husband and 3d printed; he’s got some tweaks to make so the ones in photos is version 1. I ended up just wearing my TFA earrings with it which I know aren’t accurate but I’ll replace them one day.
History:
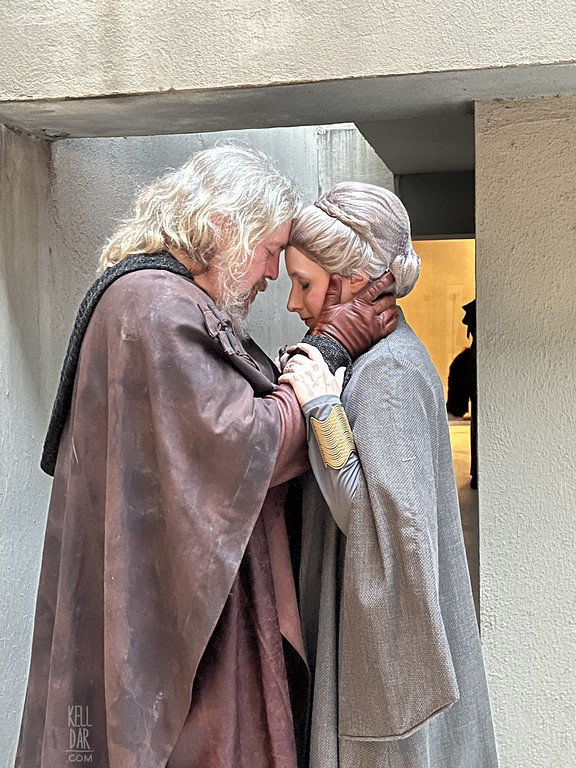
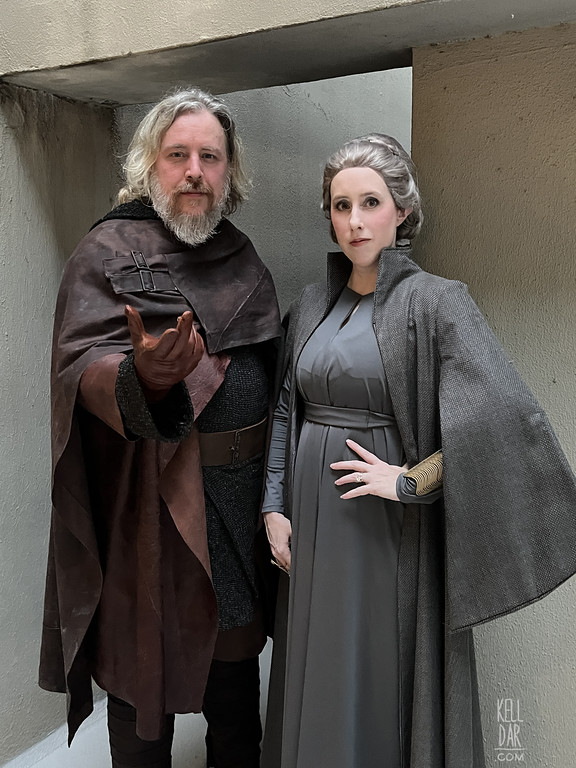
Well considering when I finished this — December 2019/January 2020 — it didn’t get worn anywhere for quite a while. I had intended to debut her at Huntsville Comic Expo 2020, but I ended up never wearing it anywhere until Dragoncon 2022, when my husband did a TLJ Luke to match me. It was nice to finally wear it out and get some photos with him. I think it’s probably my favourite of the sequel era Leia costumes.
![]()


![]()


Please note that none of these costumes are for sale! This is my personal portfolio.